
With the progressive development of fast and accurate Automatic Speech Recognition technologies, the demand for automatic transcriptions is higher than it has ever been before. Whether being used for accessibility reasons, like automatically generating subtitles for YouTube videos, or for convenience reasons, like automatically transcribing lectures/meetings, Automatic Speech Recognition finds use-cases at all levels across all industries.
In this tutorial, we will learn how to create a JavaScript Audio Transcript application powered by AssemblyAI’s Speech-to-Text API. The code in this tutorial is available on both Github and Replit.
Dependencies
What Are We Building?
We will be using Node.js and the AssemblyAI SDK to build a simple JavaScript Audio Transcript app. When provided with a URL that specifies the location of an audio file, the app will transcribe the audio to text and store the result inside of a variable as a string.
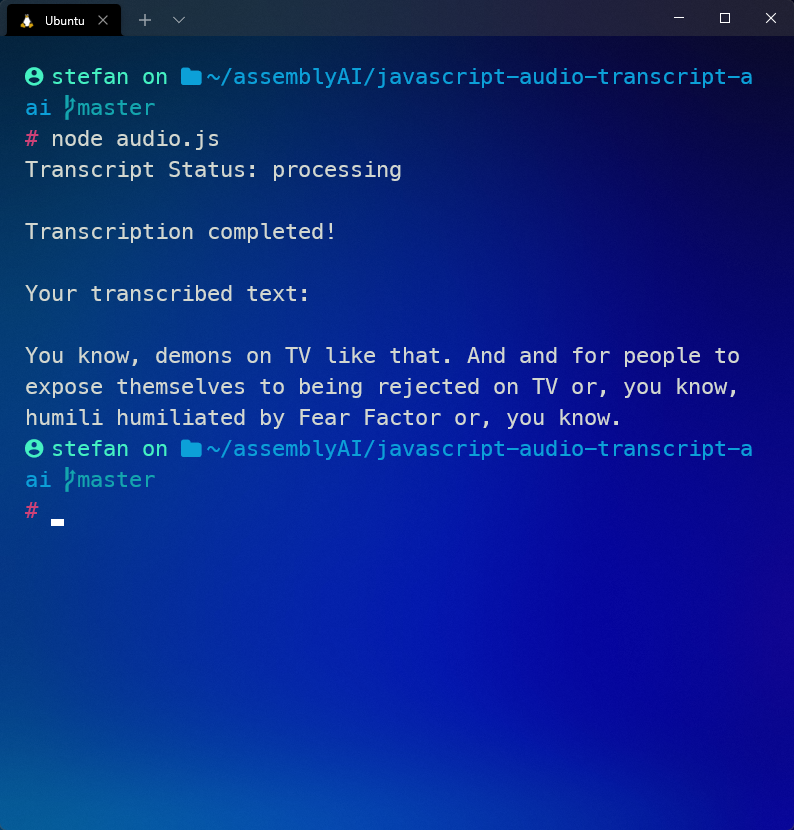
The final result will look like this:
Step 1 - Creating A New App
We will only need to write one JavaScript file to create our application. Before we start coding, we'll need to install Node.js and the AssemblyAI JavaScript SDK. If Node.js is not installed, download and install it from the Node.js website, leaving everything on default during the installation. We'll install Axios momentarily.
To keep things organized, create a new folder called javascript-audio-transcript-aai and navigate into it:
mkdir javascript-audio-transcript-aai
cd javascript-audio-transcript-aai
Now create a JavaScript file called audio.js and install the AssemblyAI JavaScript SDK:
touch audio.js
npm install assemblyai
This process automatically creates a package.json file inside of the project folder, which now should look like this:
Now that the application folder is properly set up, we can move on to setting up credential authentication for AssemblyAI's API.
Step 2 - Setting Up Authentication
AssemblyAI’s free Speech-to-Text API is what will actually generate the transcripts of our audio files. To use the API, we will require an API key. An API key is sent along with an API request to ensure that the account making the request is authorized to use the API.
Create an AssemblyAI account and go to the AssemblyAI dashboard. On the dashboard, under Your API Key, copy the value of the API key. Note that the value of this key should be kept secret and is uniquely associated to your account.
Next, in the audio.js file, write the following code to handle authentication with AssemblyAI, replacing the value of “ASSEMBLY-API-KEY” with the value of the key just copied from the dashboard.
const { AssemblyAI } = require("assemblyai")
const audioUrl = "https://bit.ly/3yxKEIY"
const apiKey = "<YOUR_ASSEMBLYAI_API_KEY>"

const client = new AssemblyAI({ apiKey: apiKey });
audio.js
Code Breakdown
const { AssemblyAI } = require("assemblyai")imports theAssemblyAIclass which is the main client for interacting with the AssemblyAI API.const audioUrl = "https://bit.ly/3yxKEIY"creates theaudioUrlvariable that links to the audio file we use for this example.const apiKey = "<YOUR_ASSEMBLYAI_API_KEY>"holds the value of your AssemblyAI API Key. Make sure to replace it with the actual API Key value from the AssemblyAI dashboard.const client = new AssemblyAI({ apiKey: apiKey });creates a new instance of the AssemblyAI API client passing in your API key to authenticate. You'll use theclientthe communicate with the AssemblyAI API.
Testing Authentication
Now that we have API authentication set up, we can test if we are able to authenticate with AssemblyAI and actually get a response.
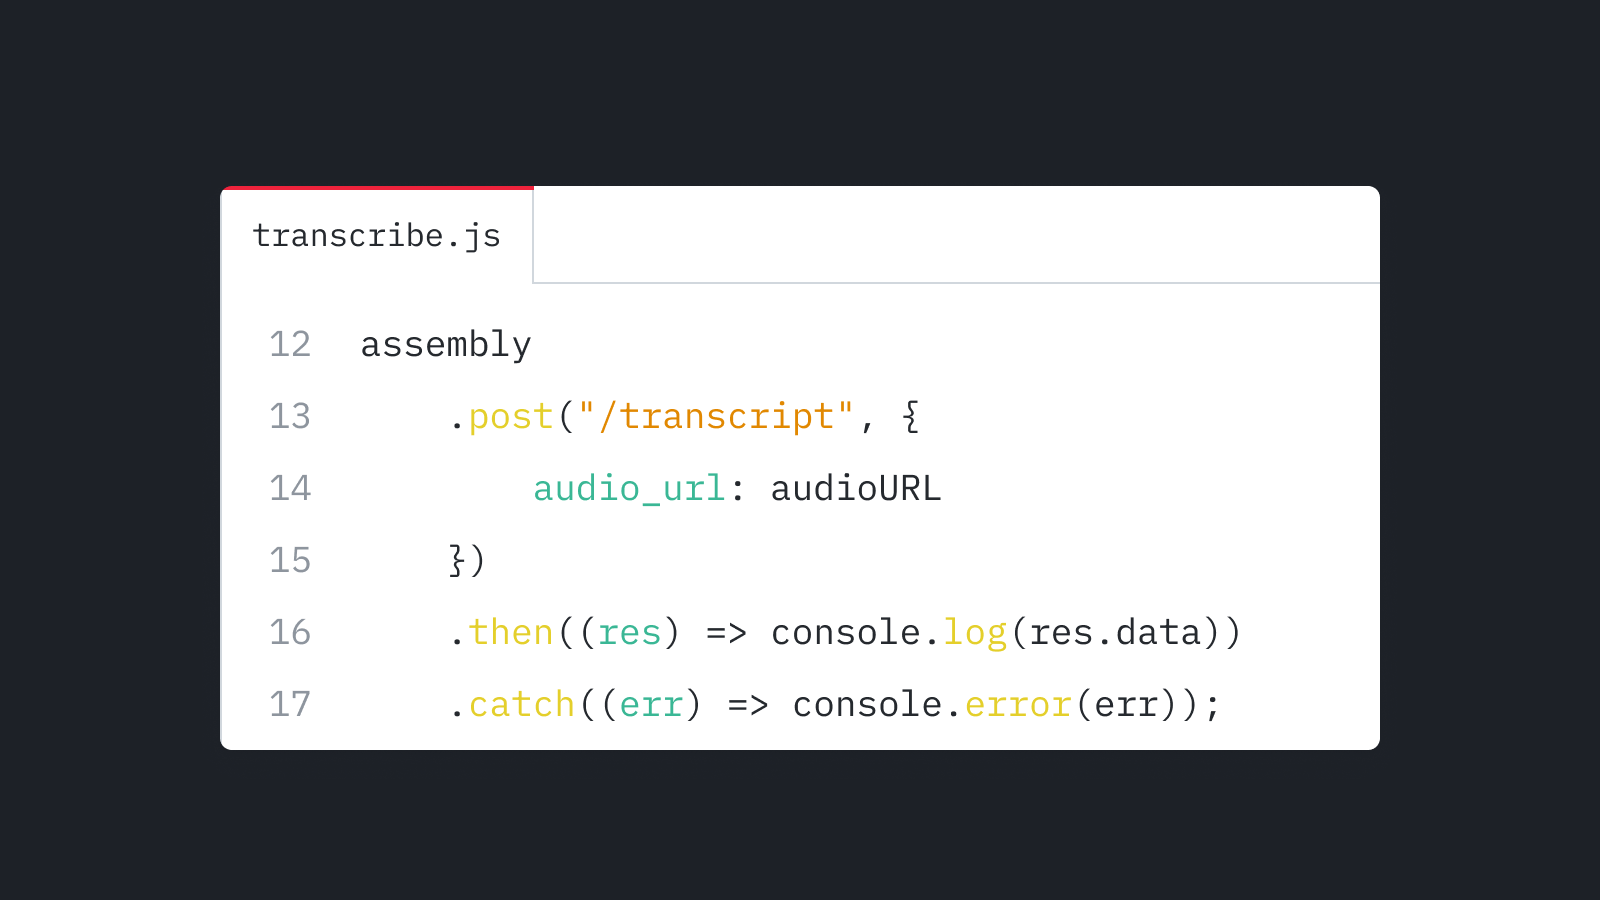
Add this line of code at the bottom of audio.js under the existing code:
...
client.transcripts.transcribe({
  audio: audioUrl
  })
  .then(transcript => console.log(transcript))
  .catch(console.error);
audio.js
This code submits the audioUrl to AssemblyAI Speech-to-Text API and waits until the transcription is ready. Ready means that the transcription job status is completed or error , at which point the then callback will be invoked. The catch callback will be called for any other error.
Open a terminal and navigate to the project folder, and then run the JavaScript file with the following code:
node audio.js
The output in the console is the response of the POST request and should look similar to this:
{
  id: 'o49rt8v5ea-bfae-4b39-b276-9eb69d172ade',
  language_model: 'assemblyai_default',
  acoustic_model: 'assemblyai_default',
  language_code: 'en_us',
  status: 'queued',
  audio_url: 'https://bit.ly/3yxKEIY',
  text: null,
  words: null,
  utterances: null,
...
}
Response
In this object, we can see a couple of elements that we will need:
idholds the transcript id. We need this id to check the status of our transcript.statustells us the current status of our transcription. We can send aGETrequest to the AssemblyAI Speech-to-Text API to do that. Possible status keys are "queued", "processing", "completed", or "error", however the.transcribemethod polls until the status is "completed" or "error".audio_urlholdsaudioUrl, which specifies the location of the audio file we wish to transcribetextwill hold the transcribed text once the transcription is finished.
Remove the whole code segment we added in this section and just used for testing, since we don’t need it any longer.
Info
Instead of using the .transcribe method, you can also use the .submit method which will submit the transcription job, but not poll until the job is ready. You can combine this with using a webhook to be notified of when the job is ready.
Conclusion
Using AssemblyAI’s Speech-to-Text API makes it easy to create a JavaScript Audio Transcript app. There are a lot of different ways to implement Speech Recognition in an application nowadays - check out our other articles on how to do Speech-to-Text with Golang, or how to implement React Speech Recognition.