
When building an app, you may want to implement a Text-to-Speech feature for accessibility, convenience, or some other reason. In this tutorial, we will learn how to build a very simple JavaScript Text-to-Speech application using JavaScript's built-in Web Speech API.
For your convenience, we have provided the code for this tutorial application ready for you to fork and play around with over at Replit, or ready for you to clone from Github. You can also view a live version of the app here.
Step 1 - Setting Up The App
First, we set up a very basic application using a simple HTML file called index.html and a JavaScript file called script.js .
We'll also use a CSS file called style.css to add some margins and to center things, but it’s entirely up to you if you want to include this styling file.
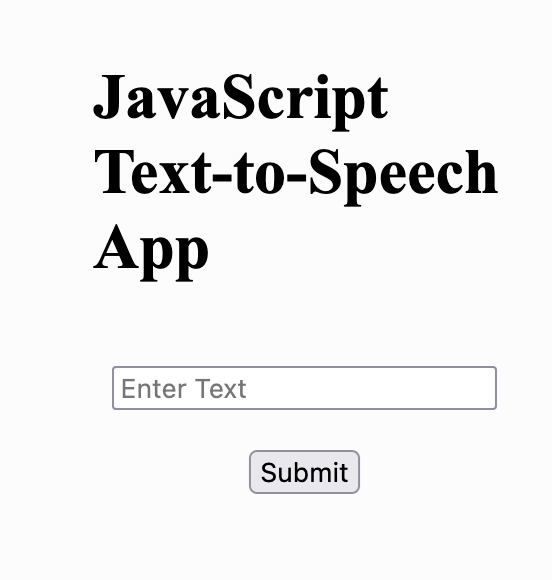
The HTML file index.html defines our application's structure which we will add functionality to with the JavaScript file. We add an <h1> element which acts as a title for the application, an <input> field in which we will enter the text we want spoken, and a <button> which we will use to submit this input text. We finally wrap all of these objects inside of a <form>. Remember, the input and the button have no functionality yet - we'll add that in later using JavaScript.
Inside of the <head> element, which contains metadata for our HTML file, we import style.css . This tells our application to style itself according to the contents of style.css. At the bottom of the <body> element, we import our script.js file. This tells our application the name of the JavaScript file that stores the functionality for the application.
<!DOCTYPE html>
<html>
  <head>
    <meta charset="utf-8" />
    <meta name="viewport" content="width=device-width" />
    <title>JavaScript Text-to-Speech App</title>
    <link href="style.css" rel="stylesheet" type="text/css" />
  </head>

  <body>
    <div class="wrapper">
      <h1>JavaScript Text-to-Speech App</h1>
      <form id="form">
        <input type="text" id="text-input" placeholder="Enter Text" />
        <button type="submit" id="submit-button">Submit</button>
      </form>
    </div>
    <script src="script.js"></script>
  </body>
</html>
Now that we have finished the index.html file, we can move on to creating the script.js JavaScript file.
Since we imported the script.js file to our index.html file above, we can test its functionality by simply sending an alert.
To add an alert to our code, we add the line of code below to our script.js file. Make sure to save the file and refresh your browser, you should now see a little window popping up with the text "It works!".
alert("It works!")
If everything went ok, you should be left with something like this:
Step 2 - Checking Browser Compatibility
To create our JavaScript Text-to-Speech application, we are going to utilize JavaScript's built-in Web Speech API. Since this API isn’t compatible with all browsers, we'll need to check for compatibility. We can perform this check in one of two ways.
The first way is by checking our operating system and version on caniuse.com.
The second way is by performing the check right inside of our code, which we can do with a simple conditional statement:
'speechSynthesis' in window ? console.log("Web Speech API supported!") : console.log("Web Speech API not supported :-(")
This is a shorthand if/else statement, and is equivalent to the following:
if('speechSynthesis' in window){
	console.log("Web Speech API supported!")
} else {
	console.log("Web Speech API not supported :-(")
}
If you now run the app and check your browser console, you should see one of those messages. You can also choose to pass this information on to the user by rendering an HTML element.
Step 3 - Testing JavaScript Text-to-Speech
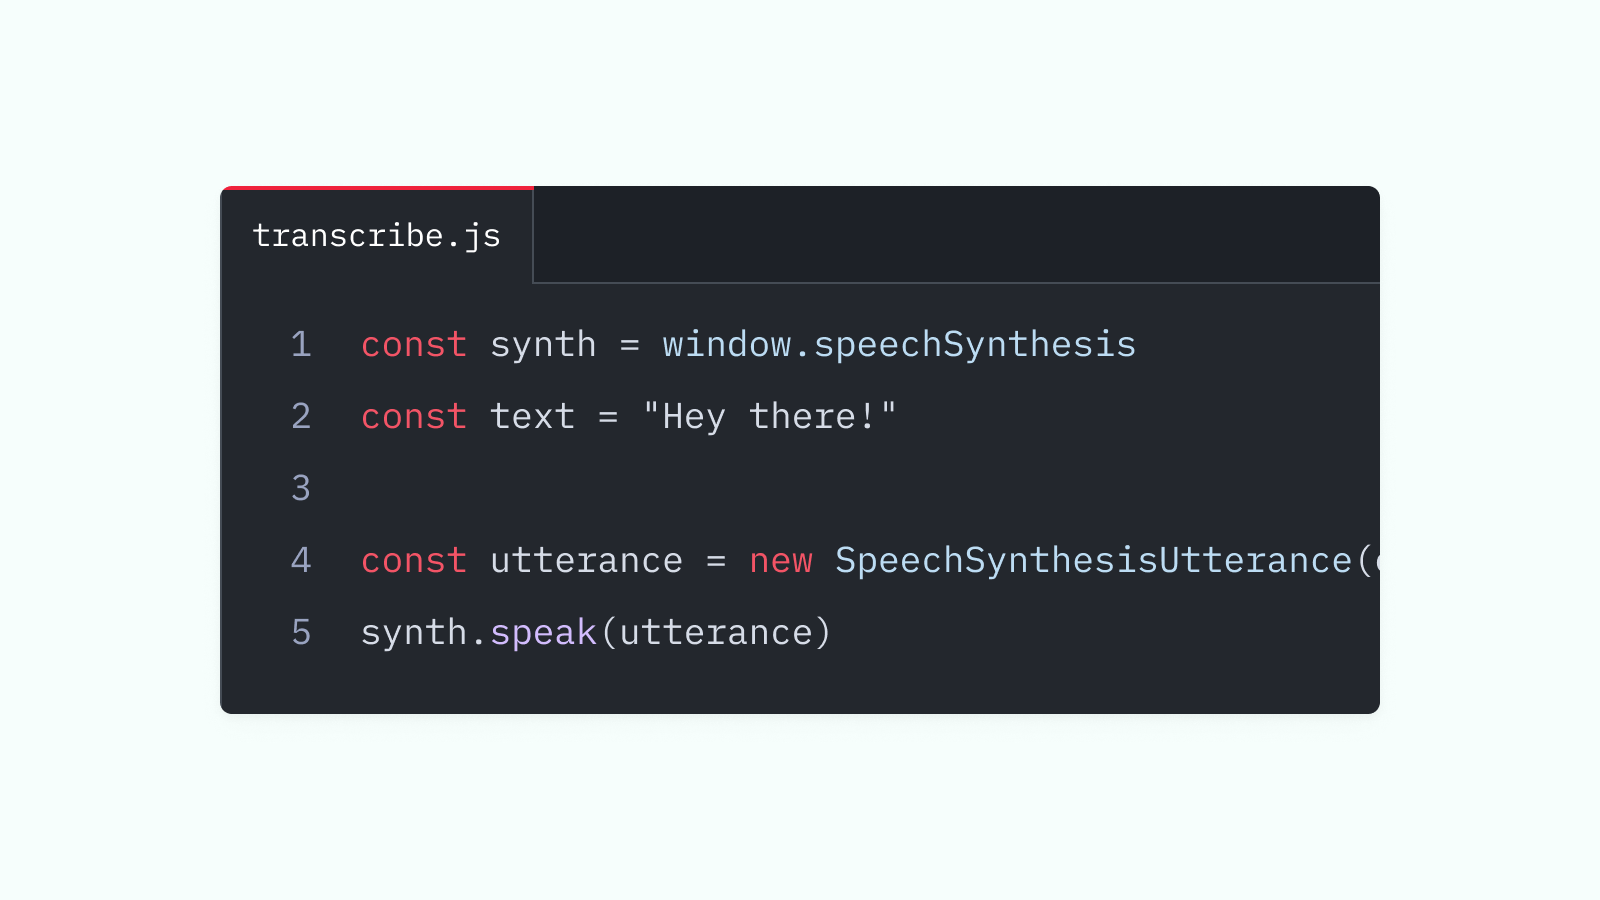
Next up, let’s write some static code to test if we can make the browser speak to us.
Add the following code to the script.js file.
'speechSynthesis' in window ? console.log("Web Speech API supported!") : console.log("Web Speech API not supported :-(")

const synth = window.speechSynthesis
let ourText = "Hey there what's up!!!!"
const utterThis = new SpeechSynthesisUtterance(ourText)

synth.speak(utterThis)
Code Breakdown
Let’s look at a code breakdown to understand what's going on:
- With
const synth = window.speechSynthesiswe declare thesynthvariable to be an instance of theSpeechSynthesisobject, which is the entry to point to using JavaScript's Web Speech API. Thespeakmethod of this object is what ultimately converts text into speech. let ourText = “Hey there what’s up!!!!”defines theourTextvariable which holds the string of text that we want to be uttered.const utterThis = new SpeechSynthesisUtterance(ourText)defines theutterThisvariable to be aSpeechSynthesisUtteranceobject, into which we passourText.- Putting it all together, we call
synth.speak(utterThis), which utters the string insideourText.
Save the code and refresh the browser window in which your app runs in order to hear a voice saying “Hey there what’s up!!!!”.
Step 4 - Making Our App Dynamic
Our code currently provides us with a good understanding of how the Text-to-Speech aspect of our application works under the hood, but the app at this point only converts the static text which we defined with ourText into speech. We want to be able to dynamically change what text is being converted to speech when using the application. Let’s do that now utilizing a <form>.
const textInputField = document.querySelector("#text-input")
const form = document.querySelector("#form")
const utterThis = new SpeechSynthesisUtterance()
const synth = window.speechSynthesis
let ourText = ""

const checkBrowserCompatibility = () => {
  "speechSynthesis" in window
    ? console.log("Web Speech API supported!")
    : console.log("Web Speech API not supported :-(")
}

checkBrowserCompatibility()

form.onsubmit = (event) => {
  event.preventDefault()
  ourText = textInputField.value
  utterThis.text = ourText
  synth.speak(utterThis)
  textInputField.value = ""
}
Code Breakdown
- First, we add the
const textInputField = document.querySelector("#text-input")variable, which allows us to access the value of the<input>tag that we have defined in theindex.htmlfile in our JavaScript code. We select the<input>field by its id:#text-input. - Secondly, we add the
const form = document.querySelector("#form")variable, which selects our form by its id#formso we can later submit the<form>using theonsubmitfunction. - We initialize
ourTextas an empty string instead of a static sentence. - We wrap our browser compatibility logic in a function called
checkBrowserCompatibilityand then immediately call this function.
Finally, we create an onsubmit handler that executes when we submit our form. This handler does several things:
event.preventDefault()prevents the browser from reloading after submitting the form.ourText = textInputField.valuesets ourourTextstring to whatever we enter in the "input" field of our application.utterThis.text = ourTextsets the text to be uttered to the value ofourText.synth.speak(utterThis)utters our text string.textInputField.valueresets the value of our input field to an empty string after submitting the form.
Step 5 - Testing Our JavaScript Text-to-Speech App
To test our JavaScript Text-to-Speech application, simply enter some text in the input field and hit “Submit” in order to hear the text converted to speech.
Additional Features
There are a lot of properties that can be modified when working with the Web Speech API. For instance:
You can try playing around with these properties to tailor the application to your needs.
Conclusion
This simple example provides an outline of how to use the Web Speech API for JavaScript Text-to-Speech.
While Text-to-Speech is useful for accessibility, convenience, and other purposes, there are a lot of use-cases in which the opposite functionality, i.e. Speech-to-Text, is useful. We have built a couple of example projects using AssemblyAI’s Speech-to-Text API that you can check out for those who want to learn more.
Give AssemblyAI's Speech-to-Text API a trySome of them are: