Build and deploy real-time AI voice agents using LiveKit and AssemblyAI
Learn how to build conversational AI voice agents using LiveKit, AssemblyAI, Cerebras, and Rime.

.png)

AI voice agents are transforming how users interact with applications, enabling natural conversations that feel remarkably human. Instead of clicking through menus or typing commands, users can simply speak and receive intelligent responses in real-time.
In this tutorial, you'll build a complete AI voice agent using LiveKit as the orchestrating framework, with AssemblyAI handling speech-to-text conversion, Cerebras powering the language model responses, and Rime providing natural-sounding text-to-speech.
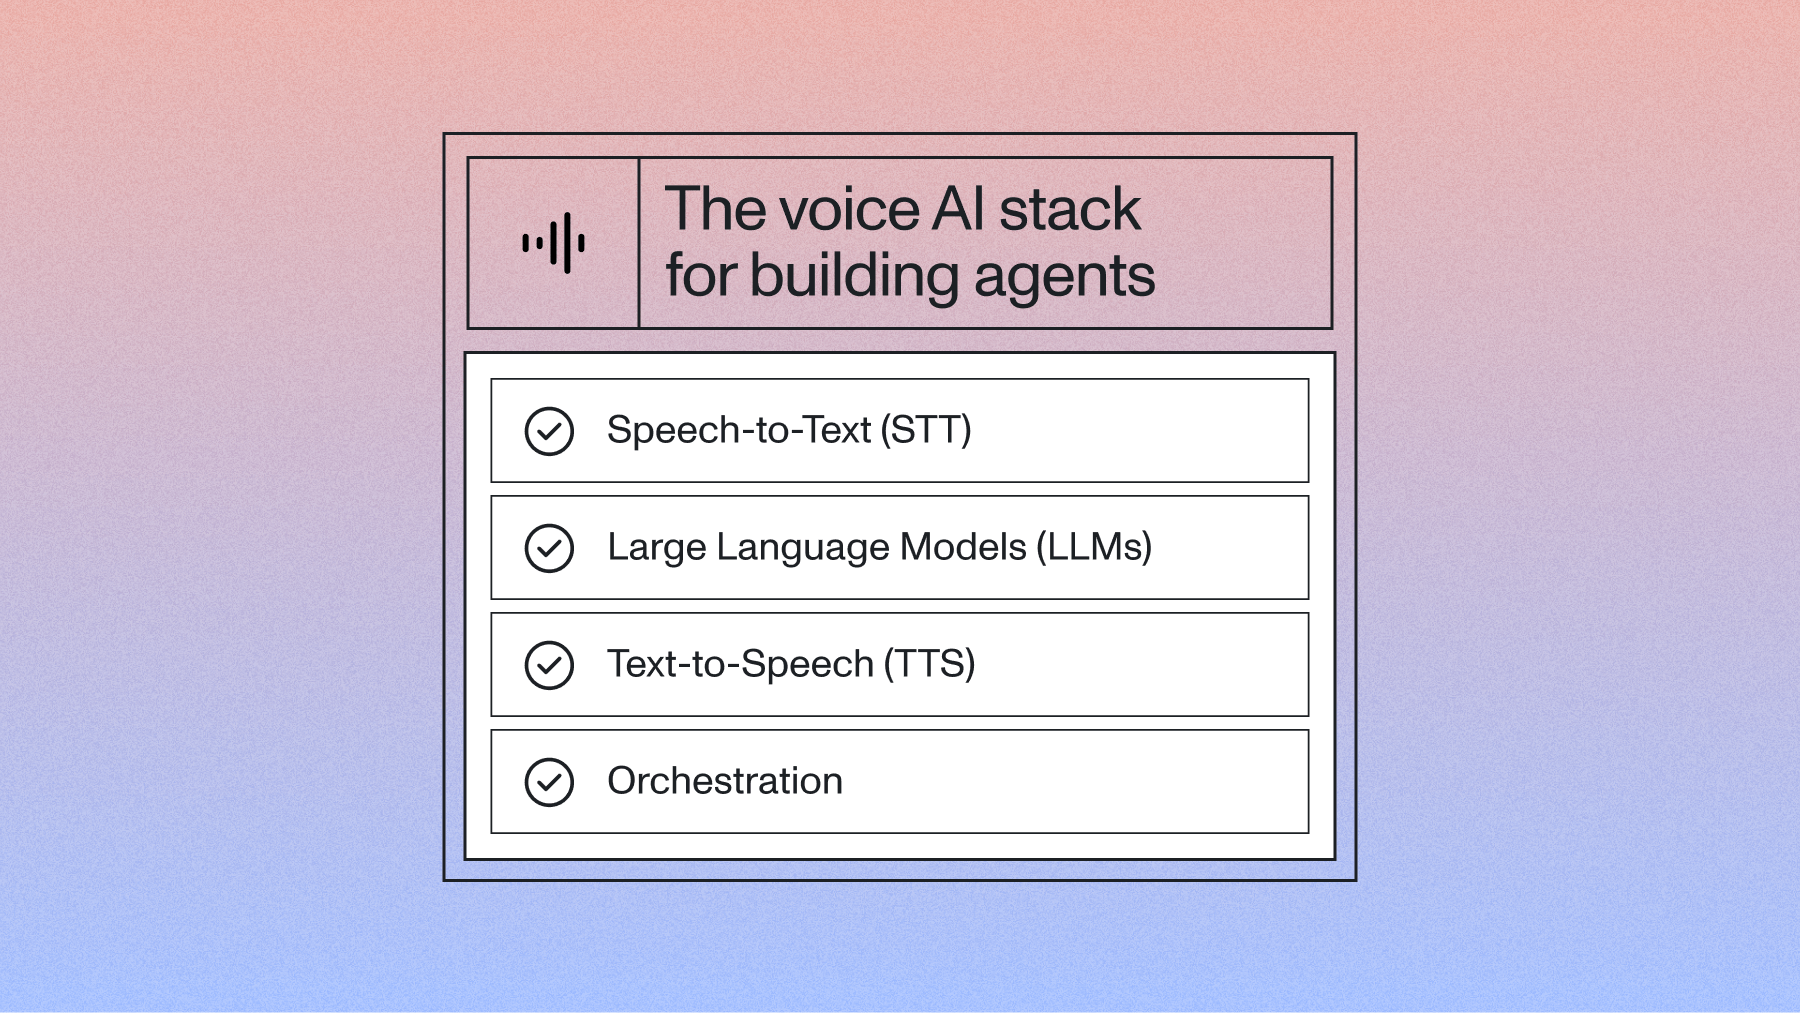
AI voice agents follow a three-step pipeline when processing user interactions:
- Speech-to-Text (STT): Converts the user's spoken words into text
- Large Language Model (LLM): Processes the text and generates an appropriate response
- Text-to-Speech (TTS): Converts the LLM's text response back into spoken audio
Here's what this looks like in practice:
User speaks → STT → "Can you help me with my order?"
LLM processes → "I'd be happy to help with your order. What
specific issue are you experiencing?"
TTS converts → Agent speaks response
LiveKit handles the orchestration between these components, managing the real-time audio streams and coordinating the different services.
Setting up your development environment
First, create a new project directory and navigate into it:
mkdir livekit-voice-agent
cd livekit-voice-agent
We'll use UV as our virtual environment manager. Create a new project and add the required dependencies:
uv init
uv add
"livekit-agents[assemblyai,openai,rime,silero,turn-detector]~=1.0
" "livekit-plugins-noise-cancellation~=0.2" python-dotenv
These packages provide:
- livekit-agents: Core LiveKit agents framework
- livekit-plugins-assemblyai: AssemblyAI integration for speech recognition
- livekit-plugins-openai: OpenAI-compatible LLM integration (works with Cerebras)
- livekit-plugins-rime: Rime text-to-speech integration
- livekit-plugins-silero: Voice activity detection
- livekit-plugins-turn-detector: Conversation turn management
- python-dotenv: Environment variable management
Configuring API keys
Create a .env file in your project root to store your API credentials:
ASSEMBLYAI_API_KEY=your_assemblyai_key_here
CEREBRAS_API_KEY=your_cerebras_key_here
RIME_API_KEY=your_rime_key_here
LIVEKIT_API_KEY=your_livekit_key_here
LIVEKIT_API_SECRET=your_livekit_secret_here
LIVEKIT_URL=your_livekit_url_here
Getting your API keys
AssemblyAI: Log into your AssemblyAI dashboard, click "API Keys" in the left sidebar, and copy your existing key or create a new one.
Cerebras: Access your Cerebras Cloud Dashboard, select "API Keys" from the left navigation, and copy an existing key or generate a new one.
Rime: In your Rime dashboard, navigate to Settings → API Tokens, then copy an existing token or create a new one.
LiveKit: From your LiveKit dashboard, go to Settings → API Keys, select your key, and copy the connection details from the dialog box.
Building the voice agent
Rename the auto-generated main file to agent.py and replace its contents with this implementation:
from dotenv import load_dotenv

from livekit import agents
from livekit.agents import AgentSession, Agent, RoomInputOptions
from livekit.plugins import (
    openai,
    assemblyai,
    rime,
    assemblyai,
    noise_cancellation,
    silero,
)
from livekit.plugins.turn_detector.multilingual import
MultilingualModel

load_dotenv()


class Assistant(Agent):
    def __init__(self) -> None:
        super().__init__(instructions="You are a helpful voice AI
assistant.")


async def entrypoint(ctx: agents.JobContext):
    session = AgentSession(
        stt=assemblyai.STT(),
        llm=openai.LLM.with_cerebras(model="llama-3.3-70b"),
        tts=rime.TTS(
          model="mist",
          speaker="rainforest",
          speed_alpha=0.9,
          reduce_latency=True,
        ),
        vad=silero.VAD.load(),
        turn_detection=MultilingualModel(),
    )

    await session.start(
        room=ctx.room,
        agent=Assistant(),
        room_input_options=RoomInputOptions(
            # LiveKit Cloud enhanced noise cancellation
            # - If self-hosting, omit this parameter
            # - For telephony applications, use `BVCTelephony`
for best results
            noise_cancellation=noise_cancellation.BVC(),
        ),
    )

    await session.generate_reply(
        instructions="Greet the user and offer your assistance."
    )


if __name__ == "__main__":
    agents.cli.run_app(agents.WorkerOptions(entrypoint_fnc=entrypoint
))
This code sets up:
- AssemblyAI for speech-to-text conversion
- Cerebras (via OpenAI-compatible API) for language model processing using the Llama 3.1 70B model
- Rime for text-to-speech with the "mistv2" model and "marsh" voice
- Silero for voice activity detection
Testing your voice agent locally
Before running the application, download the required plugins:
uv run python agent.py download-files
Once the plugins are loaded, start your voice agent:
uv run python agent.py console
The agent will initialize and you'll hear: "Hello, I'm here to help with any questions or tasks you have. What do you need assistance with?"
Try asking questions like:
- "Can you tell me about AI voice agents?"
- "What amazing apps can I make with voice technology?"
The console will display transcriptions of your speech and the agent's responses as they're processed.
Customizing agent behavior
Print user input to the terminal
Output the user’s transcripts by overriding the on_user_turn_completed function:
class Assistant(Agent):
    def __init__(self) -> None:
        super().__init__(instructions="You are a helpful voice AI
assistant.")
    async def on_user_turn_completed(self, chat_ctx,
new_message):
        if new_message.text_content:
            print(f"👶 [User] User Transcript:
{new_message.text_content}")
Monitoring agent responses
Create a wrapper around the TTS function to intercept what the agent is about to speak:
class LoggingRimeTTS(RimeTTS):
    def synthesize(self, text, *args, **kwargs):
        print("🔊 [Rime TTS] Outgoing Audio:", text)
        return super().synthesize(text, *args, **kwargs)

# Use in your agent configuration
session = AgentSession(
        ...
        tts=LoggingRimeTTS(model="mist",
            speaker="rainforest",
            speed_alpha=0.9,
            reduce_latency=True,
        ),
        ...
    )
Improving transcription formatting
Enable formatted turns in AssemblyAI to get more readable transcriptions with proper punctuation:
stt=assemblyai.STT(
    format_turns=True
)
Changing the voice
Rime offers various voice options. Browse available voices in your Rime dashboard under the Pronunciation tab, or check their voice documentation for the complete list.
Popular voice options include:
- marsh (male)
- rainforest (female)
You can also explore newer Arcana model voices for even more realistic synthesis.
Update the voice parameter in your TTS configuration:
tts=rime.TTS(
    model="mistv2",
    voice="marsh"
)
Deploying to LiveKit Cloud
Once your agent works locally, deploy it to LiveKit Cloud for global access:
uv run python agent.py dev
After successful deployment, visit agents-playground.livekit.io and log in with your LiveKit credentials. Select your project to access a web-based interface that's much more user-friendly than the command line.
The playground provides:
- Real-time audio visualization
- Conversation history
- Easy sharing capabilities
- Better debugging tools
What you've built
Your AI voice agent now handles the complete conversation loop:
- Listens for user speech with voice activity detection
- Converts speech to text using AssemblyAI's accurate transcription
- Processes the text with Cerebras's Llama 3.1 model for intelligent responses
- Converts responses back to natural speech using Rime's TTS
- Manages conversation flow and turn-taking automatically
You now have a responsive voice agent that handles complex conversations while maintaining context and providing helpful responses.
Next steps
With your foundation in place, consider these enhancements:
- Custom knowledge bases: Integrate your own data sources for domain-specific responses
- Multi-language support: AssemblyAI supports multiple languages for global applications
- Advanced voice features: Experiment with different Rime models and voice styles
- Integration workflows: Connect your agent to external APIs and databases
- Performance monitoring: Track conversation quality and response times
LiveKit's orchestration, AssemblyAI's Speech AI, Cerebras's language processing, and Rime's voice synthesis provide a solid foundation for building sophisticated voice applications.
You can find the complete code for this tutorial in the AssemblyAI Community GitHub repository.
If you’d prefer to follow along via video, check out our YouTube tutorial on here:
Lorem ipsum dolor sit amet, consectetur adipiscing elit, sed do eiusmod tempor incididunt ut labore et dolore magna aliqua. Ut enim ad minim veniam, quis nostrud exercitation ullamco laboris nisi ut aliquip ex ea commodo consequat. Duis aute irure dolor in reprehenderit in voluptate velit esse cillum dolore eu fugiat nulla pariatur.


