Transcribe a phone call in real-time using Python with AssemblyAI and Twilio
Learn how to build real-time phone call transcription with Python using AssemblyAI's Universal-Streaming speech-to-text API and Twilio.


In this tutorial, we'll learn how to build a Flask application that transcribes phone calls in real-time. This technology is rapidly becoming essential, as a recent industry report found that over 80% of leaders predict real-time conversation intelligence will be the most transformative capability in the coming year.
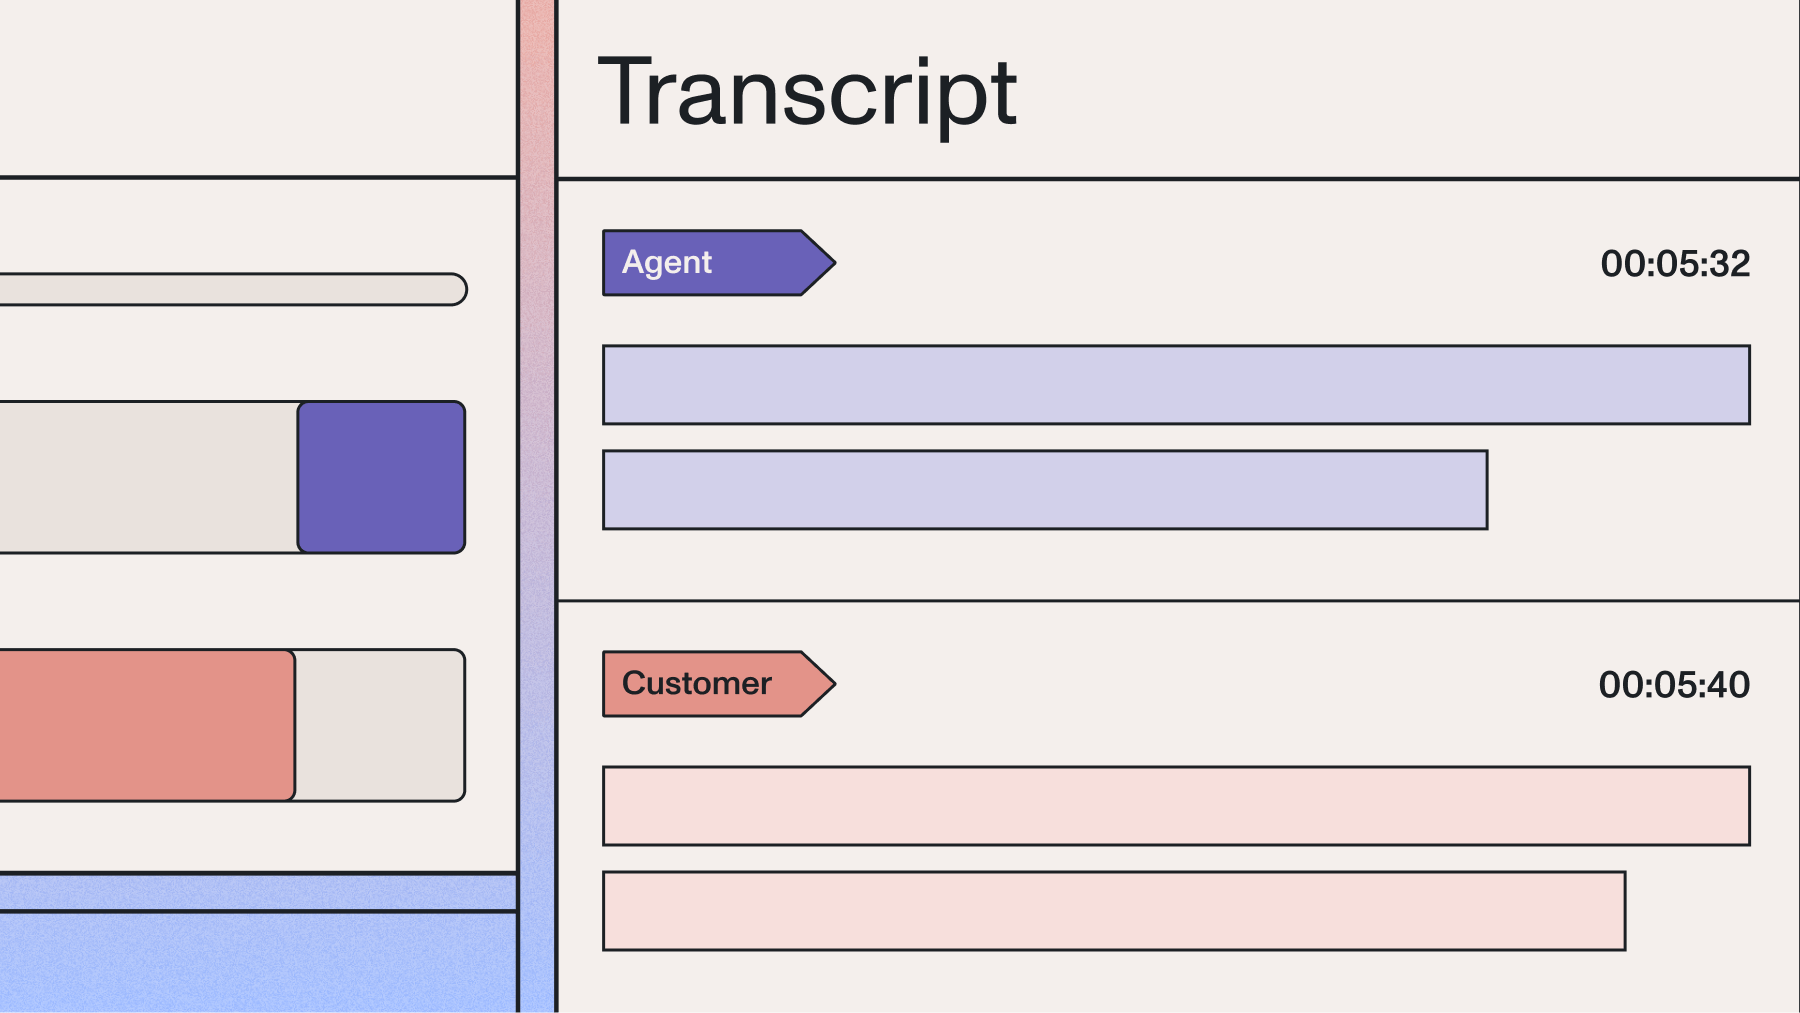
Here's a look at the end result:
Overview
Real-time phone call transcription works by streaming audio from Twilio to AssemblyAI's Universal-Streaming API, which returns live transcripts as the caller speaks.
Now let's take a look at how this will work more technically.
- First, a user calls the phone number that we provision with Twilio.
- Twilio then calls the specific endpoint associated with this number.
- In our case, we will configure the endpoint to be an ngrok URL, which provides a tunnel to a port on our local machine from a publicly accessible URL. Ngrok therefore allows us to expose our application to Twilio without having to provision a cloud machine or modify firewall rules.
- Through the ngrok tunnel, Twilio calls an endpoint in a Flask application, which responds with TwiML (Twilio Markup Language) that instructs Twilio on how to handle the call.
- In our case, the TwiML will tell Twilio to pass the incoming audio stream from the phone call to a WebSocket in our Flask application.
- This WebSocket will receive the audio stream and send it to AssemblyAI for transcription, printing the corresponding transcript to the terminal as it is received in real-time
You can find all of the code for this tutorial in this GitHub repository.
Getting started
To get started, you'll need:
- An AssemblyAI account
- A Twilio account (free account should be sufficient)
- An ngrok account and ngrok installed on your system
- Python installed on your system
Create and navigate to your project directory:
mkdir realtime-phone-transcription
cd realtime-phone-transcription
Step 1: Set up credentials and environment
Create a .env file in your project directory:
NGROK_AUTHTOKEN=replace-this
TWILIO_ACCOUNT_SID=replace-this
TWILIO_API_KEY_SID=replace-this
TWILIO_API_SECRET=replace-this
ASSEMBLYAI_API_KEY=replace-this
Replace replace-this with your actual credentials.
Find your ngrok authtoken in the Getting Started > Your Authtoken tab. If ngrok isn't configured, add your token:
ngrok config add-authtoken YOUR-TOKEN-HERE
You can find your Twilio account SID (TWILIO_ACCOUNT_SID) in your Twilio console under Account > API keys & tokens. Here you can also create an API key for TWILIO_API_KEY_SID and TWILIO_API_SECRET. A Standard key type is sufficient to follow along with this tutorial.
You can find your AssemblyAI API key on your AssemblyAI dashboard.
Create a free account to access the Universal-Streaming API for real-time phone call transcription with Python and Twilio.
Finally, create a file called .gitignore and copy the below text into it:
.env
venv
__pycache__
This will prevent you from accidentally tracking your .env file with git and potentially uploading it to a website like GitHub. Additionally, it will prevent you from tracking/uploading your virtual environment and cache files.
Now create and activate a virtual environment for the project:
# Mac/Linux
python3 -m venv venv
. venv/bin/activate

# Windows
python -m venv venv
.\venv\Scripts\activate.bat
Next, we'll install all of the dependencies we will need for the projects. Execute the below command:
pip install Flask flask-sock assemblyai python-dotenv ngrok twilio
Step 2: Create the Flask application
Create a file in the project directory called main.py and add the following imports:
from flask import Flask
from flask_sock import Sock
These lines import Flask and Sock so that we can create a web application with WebSockets. Next, add these lines that define some settings for our application:
PORT = 5000
DEBUG = False
INCOMING_CALL_ROUTE = '/'
WEBSOCKET_ROUTE = '/'
These settings configure:
- App port and debug mode
- HTTP endpoint route for incoming Twilio calls
- WebSocket route for audio data streaming
Now add the below lines to main.py, which instantiate our app and define the functions for these endpoints. Additionally, we run the app on the specified port and debugging mode when python main.py is executed.
app = Flask(__name__)
sock = Sock(app)

@app.route(INCOMING_CALL_ROUTE)
def receive_call():
    pass

@sock.route(WEBSOCKET_ROUTE)
def transcription_websocket(ws):
    pass

if __name__ == "__main__":
    app.run(port=PORT, debug=DEBUG)
Step 3: Define the root endpoint
Now that the basic structure of our Flask app is defined, we can start to define our endpoints. We'll start by defining the root endpoint that Twilio will hit when our Twilio phone number is called.
Modify your receive_call function as follows:
@app.route(INCOMING_CALL_ROUTE)
def receive_call():
    return "Real-time phone call transcription app"
Now run python main.py from a terminal in the project directory and go to http://localhost:5000 in your browser. You will see the return message displayed.
By default, the only HTTP request method available for Flask routes is GET, and the endpoint will respond with the value returned by the corresponding function. In our case, Twilio will send a POST request to the endpoint that we associate with our Twilio number, so we need to modify this Python function accordingly.
Modify your imports and receive_call function as follows:
from flask import Flask, request, Response

# ...

@app.route(INCOMING_CALL_ROUTE, methods=['GET', 'POST'])
def receive_call():
    if request.method == 'POST':
        xml = f"""
<response>
    <say>
        You have connected to the Flask application
    </say>
</response>
""".strip()
        return Response(xml, mimetype='text/xml')
    else:
        return f"Real-time phone call transcription app"
The updated route accepts both GET and POST requests. POST requests return TwiML (Twilio's XML format) that instructs Twilio how to handle the call.
The <say> tags tell Twilio to speak text to the caller. The response uses XML MIME type for proper TwiML formatting.
Finally, if the HTTP request method is not POST, then it is a GET so we return the text we did previously in the else block.
We now have a functional Flask application that will respond with TwiML if called by Twilio. The next step is to get a Twilio number and point it to this application.
Step 4: Get a Twilio number and open an ngrok tunnel
To get a Twilio number, go to your Twilio console and go to Phone Number > Manage > Buy a number. There, you will see a list of numbers you can purchase for a small monthly fee - select one and click Buy. Note that we only need Voice capabilities for this tutorial.
Next, we'll open an ngrok tunnel on port 5000 (through which our Flask app will be served). In the terminal, execute the following command:
ngrok http http://localhost:5000/
In the terminal, you will see some information displayed about the tunnel. What we need is the public forwarding URL, which may look something like https://<random-string>.ngrok-free.app. Copy this value now.
Back in your Twilio console, go to Phone Numbers > Manage > Active numbers and select the phone number you bought above. In the Voice Configuration, set a Webhook for when a call comes in, pasting the ngrok URL you just copied under URL and setting the HTTP method to HTTP POST.
Then scroll down and click Save Configuration to save this change.
You have now configured your Twilio number to send a POST request to the ngrok URL when your number is called, and opened a tunnel that forwards this ngrok URL to port 5000 on your local machine. With all of this in place, we can now test our application.
Open another terminal in your project directory and run python main.py. You can go to http://localhost:5000 again to confirm that the application is up and running - you will see a 200 response in the terminal if you do so. Now call your Twilio phone number - you will hear a voice say "You have connected to the Flask application", and then the call will terminate.
We now have a working Flask application that can successfully receive and respond to a Twilio phone call - it's time to add in the WebSocket that receives incoming speech.
Step 5: Set up a WebSocket to receive speech
Modify your receive_call function with the TwiML below:
@app.route(INCOMING_CALL_ROUTE, methods=['GET', 'POST'])
def receive_call():
    if request.method == 'POST':
        xml = f"""
<response>
    <say>
        Speak to see your audio data printed to the console
    </say>
    <connect>
        <stream url="wss://{request.host}{WEBSOCKET_ROUTE}"></stream>
    </connect>
</response>
""".strip()
        return Response(xml, mimetype='text/xml')
    else:
        return f"Real-time phone call transcription app"
We've added "<connect>" and "<stream>" tags that tell Twilio to forward the incoming audio data to the specified WebSocket. In our case, we point it to a WebSocket in the same Flask app that we will define next.
Our WebSocket will be defined in the transcription_websocket function that we defined at the beginning of this tutorial. Import the json package, and then modify the transcription_websocket function as follows:
import json

# ...

@sock.route(WEBSOCKET_ROUTE)
def transcription_websocket(ws):
    while True:
        data = json.loads(ws.receive())
        match data['event']:
            case "connected":
                print('twilio connected')
            case "start":
                print('twilio started')
            case "media":
                payload = data['media']['payload']
                print(payload)
            case "stop":
                print('twilio stopped')
Our WebSocket will receive four possible types of messages from Twilio:
- connected when the WebSocket connection is established
- start when the data stream begins sending data
- media which contain the raw audio data, and
- stop when the stream is stopped or the call has ended
We receive each message with ws.receive(), and then load it to a dictionary with json.loads. We then handle each message according to its type stored in the event key. For now, we print the binary data for media messages and a simple message for each remaining case.
Start your Flask application by running python main.py from the terminal in a project directory, and then call your Twilio number. You will start seeing a stream of binary, base-64-encoded data printed in your console.
Step 6: Define a real-time transcriber
We now have our Flask application running, receiving calls to a Twilio number via an ngrok tunnel, and printing the speech data to the console. It's time to add real-time transcription.
Create a new file in your project directory called twilio_transcriber.py. We will define the object that we use to perform the real-time transcription in this module. At the top of the file, add the following code for imports and to set the AssemblyAI API key and define the Twilio audio sample rate:
import os
import threading
from typing import Type
import assemblyai as aai
from assemblyai.streaming.v3 import (
    BeginEvent,
    StreamingClient,
    StreamingClientOptions,
    StreamingError,
    StreamingEvents,
    StreamingParameters,
    TerminationEvent,
    TurnEvent,
)
from dotenv import load_dotenv

load_dotenv()

aai.settings.api_key = os.getenv('ASSEMBLYAI_API_KEY')
TWILIO_SAMPLE_RATE = 8000  # Hz

# Define audio buffer settings
# We'll buffer 100ms of audio before sending to AssemblyAI
BUFFER_SIZE_MS = 100
# At 8kHz, 8-bit mu-law audio, 1ms of audio is 8 bytes
BYTES_PER_MS = TWILIO_SAMPLE_RATE // 1000
Now we will add handlers for the four types of messages we will receive from AssemblyAI. Add the below functions to twilio_transcriber.py:
def on_begin(client: StreamingClient, event: BeginEvent):
    "Called when the connection has been established."
    print(f"Session ID: {event.id}\n")

def on_turn(client: StreamingClient, event: TurnEvent):
    "Called when a new transcript has been received."
    # Construct the full transcript from the words received so far for the most real-time display
    transcript_text = ' '.join(word.text for word in event.words)

    if transcript_text.strip():
        # The `turn_is_formatted` flag indicates a final transcript that has been punctuated and cased
        is_formatted = event.turn_is_formatted

        if is_formatted:
            # The final formatted transcript is in event.transcript
            transcript_display.add_final(event.transcript)
        elif event.end_of_turn:
            # This is an unformatted final transcript.
            # We can ignore it in this tutorial as we wait for the formatted version.
            pass
        else:
            # This is a partial transcript, update the display
            transcript_display.update_partial(transcript_text)

def on_error(client: StreamingClient, error: StreamingError):
    "Called when the connection has been closed."
    print(f"\nError: {error}")

def on_terminated(client: StreamingClient, event: TerminationEvent):
    "Called when the connection has been closed."
    print(f"\nSession ended - {event.audio_duration_seconds} seconds processed")
We will also create a TranscriptDisplay class that manages the visual output of the transcript text.
class TranscriptDisplay:
    def __init__(self):
        self.current_partial = ""
        self.lock = threading.Lock()
        self.current_line_printed = False

    def update_partial(self, text):
        with self.lock:
            self.current_partial = text
            self._display_partial()

    def add_final(self, text):
        with self.lock:
            if self.current_partial:
                print("\r" + " " * (len(self.current_partial) + 20) + "\r", end="", flush=True)

            print(f"{text}")

            self.current_partial = ""
            self.current_line_printed = False

    def _display_partial(self):
        print("\r" + " " * 100 + "\r", end="", flush=True)
        if self.current_partial:
            print(f"{self.current_partial}", end="", flush=True)

transcript_display = TranscriptDisplay()
on_begin (on_terminated) is called when a connection has been established (terminated). on_error is called when there is an error. For each of these message types, we print relevant information - most importantly, on_begin displays the unique session ID that AssemblyAI assigns to each streaming session.
The on_turn function is called when our Flask application receives transcription data from AssemblyAI's Universal-Streaming service. This function handles the core transcription logic and does one of several things based on the transcript content and type.
If there is no transcript (i.e., the transcript is empty), we simply skip processing and return early. If we receive a transcript, we handle it based on the transcript properties provided by the Universal-Streaming API.
The Universal-Streaming API sends transcription data through TurnEvent messages. The state of a transcript within a turn is indicated by boolean flags:
- A partial transcript is an in-progress result. For these,
end_of_turnisfalse. The transcript text may change and refine as more audio is processed. - A final transcript is a complete and stable result for an utterance. For these,
end_of_turnistrue. - If you enable formatting (
format_turns=true), you will receive a final formatted transcript with punctuation and capitalization. For these,turn_is_formattedistrue.
Our SDK handles these events to provide a smooth, real-time display, updating partials as they arrive and printing the final formatted transcript once available.
To handle these incoming messages and create a smooth user experience, we use a TranscriptDisplay class that manages the visual output. For partial transcripts, we update the current line using carriage returns (\r) to overwrite the previous partial text, creating the visual effect of words appearing and updating in real-time as they're being spoken. When we receive the final formatted transcript, we clear any partial text and print the complete, properly formatted utterance on a new line.
Now that we have our handlers defined, we need to define the class that we will actually use to perform the transcription. Add the below class to twilio_transcriber.py:
class TwilioTranscriber(StreamingClient):
    def __init__(self):
        options = StreamingClientOptions(
            api_key=aai.settings.api_key,
            api_host="streaming.assemblyai.com"
        )

        super().__init__(options)

        self.on(StreamingEvents.Begin, on_begin)
        self.on(StreamingEvents.Turn, on_turn)
        self.on(StreamingEvents.Termination, on_terminated)
        self.on(StreamingEvents.Error, on_error)

        self.audio_buffer = bytearray()
        self.buffer_size_bytes = BUFFER_SIZE_MS * BYTES_PER_MS
        self.buffer_lock = threading.Lock()
        self.is_active = False

        global transcript_display
        transcript_display = TranscriptDisplay()

    def start_transcription(self):
        params = StreamingParameters(
            sample_rate=TWILIO_SAMPLE_RATE,
            encoding=aai.AudioEncoding.pcm_mulaw,
            format_turns=True
        )
        self.is_active = True
        self.connect(params)

    def stream_audio(self, audio_data: bytes):
        if not self.is_active:
            return

        with self.buffer_lock:
            self.audio_buffer.extend(audio_data)

            if len(self.audio_buffer) >= self.buffer_size_bytes:
                self._flush_buffer()

    def _flush_buffer(self):
        if len(self.audio_buffer) > 0:
            buffered_audio = bytes(self.audio_buffer)
            try:
                self.stream(buffered_audio)
            except Exception as e:
                print(f"\nError sending audio: {e}")

            self.audio_buffer.clear()

    def stop_transcription(self):
        self.is_active = False

        with self.buffer_lock:
            if len(self.audio_buffer) > 0:
                self._flush_buffer()

        self.disconnect(terminate=True)
Our TwilioTranscriber is a subclass of the StreamingClient class from AssemblyAI's Universal-Streaming v3 API. We define the initializer of TwilioTranscriber by first creating a StreamingClientOptions object that contains our API key and the correct streaming host (streaming.assemblyai.com), then passing these options to the parent StreamingClient constructor.
After initialization, we register our event handlers using the .on() method for different streaming events: Begin, Turn, Termination, and Error.
The class also implements audio buffering functionality, since Twilio sends very small audio chunks (around 20ms each) but AssemblyAI's Universal-Streaming API requires chunks between 50-1000ms. We buffer incoming audio data until we have approximately 100ms worth (800 bytes at 8kHz), then send it to AssemblyAI.
When starting transcription, we create StreamingParameters that specify a sample rate of 8000 Hz and PCM μ-law encoding (which are the settings Twilio streams use), and we enable format_turns=True to receive properly formatted final transcripts with punctuation and capitalization. The connection is established by calling the connect() method with these parameters.
Step 7: Add real-time transcription to the WebSocket
Now that we have defined TwilioTranscriber, we need to use it in our main application code. In main.py, import base64 and TwilioTranscriber, and then modify the transcription_websocket to match the below code:
import base64
from twilio_transcriber import TwilioTranscriber

# ...

@sock.route(WEBSOCKET_ROUTE)
def transcription_websocket(ws):
    transcriber = None

    try:
        while True:
            data = json.loads(ws.receive())
            match data['event']:
                case "connected":
                    print('Twilio connected, starting transcriber...')
                    transcriber = TwilioTranscriber()
                    transcriber.start_transcription()
                case "start":
                    print('Call started')
                case "media":
                    if transcriber:
                        payload_b64 = data['media']['payload']
                        payload_mulaw = base64.b64decode(payload_b64)
                        transcriber.stream_audio(payload_mulaw)
                case "stop":
                    print('Call ended')
                    if transcriber:
                        transcriber.stop_transcription()
                    break
    except Exception as e:
        print(f"Error in websocket: {e}")
        import traceback
        traceback.print_exc()
    finally:
        if transcriber:
            try:
                transcriber.stop_transcription()
            except Exception as cleanup_error:
                print(f"Cleanup error: {cleanup_error}")
We've updated our connected handler to instantiate a TwilioTranscriber and connect to AssemblyAI's servers, updated the media handler to decode the binary audio data and then pass it to the transcriber's stream_audio method, and updated the stop handler to close the transcriber's connection to AssemblyAI's servers.
Finally, update the "<say>" tags in the receive_call function to contain a fitting phrase now that our console will print the audio transcription rather than just the audio data:
<Say>
    Speak to see your speech transcribed in the console
</Say>
Run python main.py in a terminal from the project directory, and call your Twilio number. As you speak, you will see your speech transcribed in the console.
Step 8: Automatically set the Twilio webhook and ngrok tunnel
Our application is running and fully functional, but we can further improve it. Currently, every time we want to run the application, we must open an ngrok tunnel in a separate terminal and then copy the forwarding URL from this terminal into Twilio's console in the browser.
This is fairly laborious, so it's time to automate these steps. First, update your .env file to include your Twilio number as a TWILIO_NUMBER environment variable:
NGROK_AUTHTOKEN=replace-this
TWILIO_ACCOUNT_SID=replace-this
TWILIO_API_KEY_SID=replace-this
TWILIO_API_SECRET=replace-this
ASSEMBLYAI_API_KEY=replace-this
TWILIO_NUMBER=replace-this
The number should be represented as a sequence of digits including a country area code. For example, +1234567891 would be a valid number for the United States.
Now, update the top of your main.py file as follows:
import base64
import json
import os
from flask import Flask, request, Response
from flask_sock import Sock
import ngrok
from twilio.rest import Client
from dotenv import load_dotenv

load_dotenv()

from twilio_transcriber import TwilioTranscriber

# ...

# Twilio authentication
account_sid = os.environ['TWILIO_ACCOUNT_SID']
api_key = os.environ['TWILIO_API_KEY_SID']
api_secret = os.environ['TWILIO_API_SECRET']
client = Client(api_key, api_secret, account_sid)

# Twilio phone number to call
TWILIO_NUMBER = os.environ['TWILIO_NUMBER']

# ngrok authentication
ngrok.set_auth_token(os.getenv("NGROK_AUTHTOKEN"))
We've added authentication variables to instantiate a Twilio Client, and imported our Twilio phone number environment variable. Finally, we've set our ngrok auth token through ngrok.set_auth_token.
Next, update the script's main block as follows:
if __name__ == "__main__":
    try:
      listener = ngrok.forward(f"http://localhost:{PORT}")
      print(f"Ngrok tunnel opened at {listener.url()} for port {PORT}")
      NGROK_URL = listener.url()

      twilio_numbers = client.incoming_phone_numbers.list()
      twilio_number_sid = [num.sid for num in twilio_numbers if num.phone_number == TWILIO_NUMBER][0]
      client.incoming_phone_numbers(twilio_number_sid).update(account_sid, voice_url=f"{NGROK_URL}{INCOMING_CALL_ROUTE}")

      app.run(port=PORT, debug=DEBUG)
    finally:
      ngrok.disconnect()
First, we open up an ngrok tunnel with ngrok.forward, and then use the twilio library to programmatically set our Twilio number's voice webhook to the URL of the tunnel. It appears that it is not possible to call the incoming_phone_numbers method directly on our Twilio number, so we first have to isolate its SID with a list comprehension and then pass the SID into this method. Finally, we run our app as before with app.run(). All of this code is wrapped in a try…finally block that ensures our ngrok tunnel is always terminated properly.
If you have a free ngrok account you can only have one tunnel open at a time, so close your previous tunnel if it is still open, and then run python main.py in order to execute our program. Call your Twilio number and speak to see your speech transcribed to the console without having to manually open an ngrok tunnel and update the Twilio console.
Production considerations and optimization
While this tutorial uses Flask's built-in development server and ngrok for simplicity, a production environment requires a more robust setup. Here are a few key considerations:
- Web Server: Replace Flask's development server with a production-grade WSGI server like Gunicorn or uWSGI. These servers are designed to handle concurrent requests efficiently and reliably.
- Secret Management: In production, avoid storing credentials in a
.envfile. According to a 2025 trends report, nearly a third of teams cite data privacy and security as a significant challenge, making secure secret management critical. Use a service like AWS Secrets Manager, Google Secret Manager, or HashiCorp Vault to handle your API keys and other sensitive information. - Scalability: To handle multiple simultaneous calls, you'll need to run multiple instances of your application behind a load balancer. This ensures that incoming WebSocket connections are distributed across your application instances, preventing any single server from becoming a bottleneck.
- Logging and Monitoring: Implement a structured logging solution to capture application events, errors, and performance metrics. Tools like Datadog, Sentry, or the ELK Stack can help you monitor your application's health and troubleshoot issues in real-time.
Troubleshooting common issues
If you run into issues, here are a few common problems and how to solve them:
- WebSocket Connection Errors: If Twilio can't connect to your WebSocket, first check that your ngrok tunnel is active and pointing to the correct local port. Also, verify that the WebSocket URL in your TwiML response (
wss://{request.host}{WEBSOCKET_ROUTE}) is resolving correctly. You can inspect the live requests in the ngrok web interface (usually athttp://127.0.0.1:4040). - Authentication Failures: A
401 Unauthorizederror from AssemblyAI or Twilio almost always means an incorrect API key or SID. Double-check that the values in your.envfile are copied correctly and have no extra spaces or characters. - No Transcription Appears: If the connection is successful but no text appears, the issue is likely with the audio stream. Add print statements inside the
mediacase in your WebSocket handler to confirm that audio data is being received. Ensure the audio is being correctly decoded from base64 and that the sample rate and encoding in yourStreamingParametersmatch what Twilio sends (8000 Hz and PCM μ-law).
Next steps for building Voice AI applications
You've now built a functional real-time phone call transcription application. Industry research indicates that companies are moving from experimentation to execution with this technology, giving you a powerful foundation for many different products, from AI-powered meeting assistants to automated call center analysis tools.
From here, you can expand the application's capabilities by integrating other AssemblyAI models. For example, you could use our Summarization model to generate a concise summary of the call once it's complete, or apply Sentiment Analysis to understand the caller's tone. You could also explore deploying the application to a cloud service like AWS, Google Cloud, or Heroku to make it publicly accessible without relying on ngrok.
Ready to build more advanced features? Try our API for free and explore what's possible with our full suite of Voice AI models.
Frequently asked questions about real-time phone call transcription
How do I handle poor audio quality or network connectivity issues?
AssemblyAI models handle background noise well, but clear audio provides the best accuracy. This is crucial, as an AI insights report finds that accuracy and performance are top factors for teams evaluating AI vendors. For connectivity, implement retry logic with exponential backoff for WebSocket connections to handle network issues.
What are the performance implications of different buffer sizes?
Smaller buffers reduce latency but increase API calls, while larger buffers improve efficiency but add delay. For example, as API documentation shows, Twilio sends 20ms audio chunks while AssemblyAI's API is optimized for chunks between 50-1000ms. The tutorial's 100ms buffer balances both factors effectively.
How can I debug WebSocket connection problems with Twilio?
Use the ngrok web interface at http://127.0.0.1:4040 to inspect TwiML responses and connection errors. Add logging to your WebSocket handler to track connection status and messages.
Can I modify this implementation to work with other telephony providers?
Yes, the core TwilioTranscriber logic is provider-agnostic. Replace the TwiML components and audio stream handler for your specific provider's format.
How do I scale this solution to handle multiple concurrent calls?
Deploy with a production server like Gunicorn and multiple worker processes behind a load balancer. Each worker handles its own WebSocket connections for horizontal scaling.
Lorem ipsum dolor sit amet, consectetur adipiscing elit, sed do eiusmod tempor incididunt ut labore et dolore magna aliqua. Ut enim ad minim veniam, quis nostrud exercitation ullamco laboris nisi ut aliquip ex ea commodo consequat. Duis aute irure dolor in reprehenderit in voluptate velit esse cillum dolore eu fugiat nulla pariatur.
Related posts