
How to Run Stable Diffusion Locally to Generate Images
Stable Diffusion is a text-to-image model with recently-released open-sourced weights. Learn how to generate an image of a scene given only a description of it in this simple tutorial.


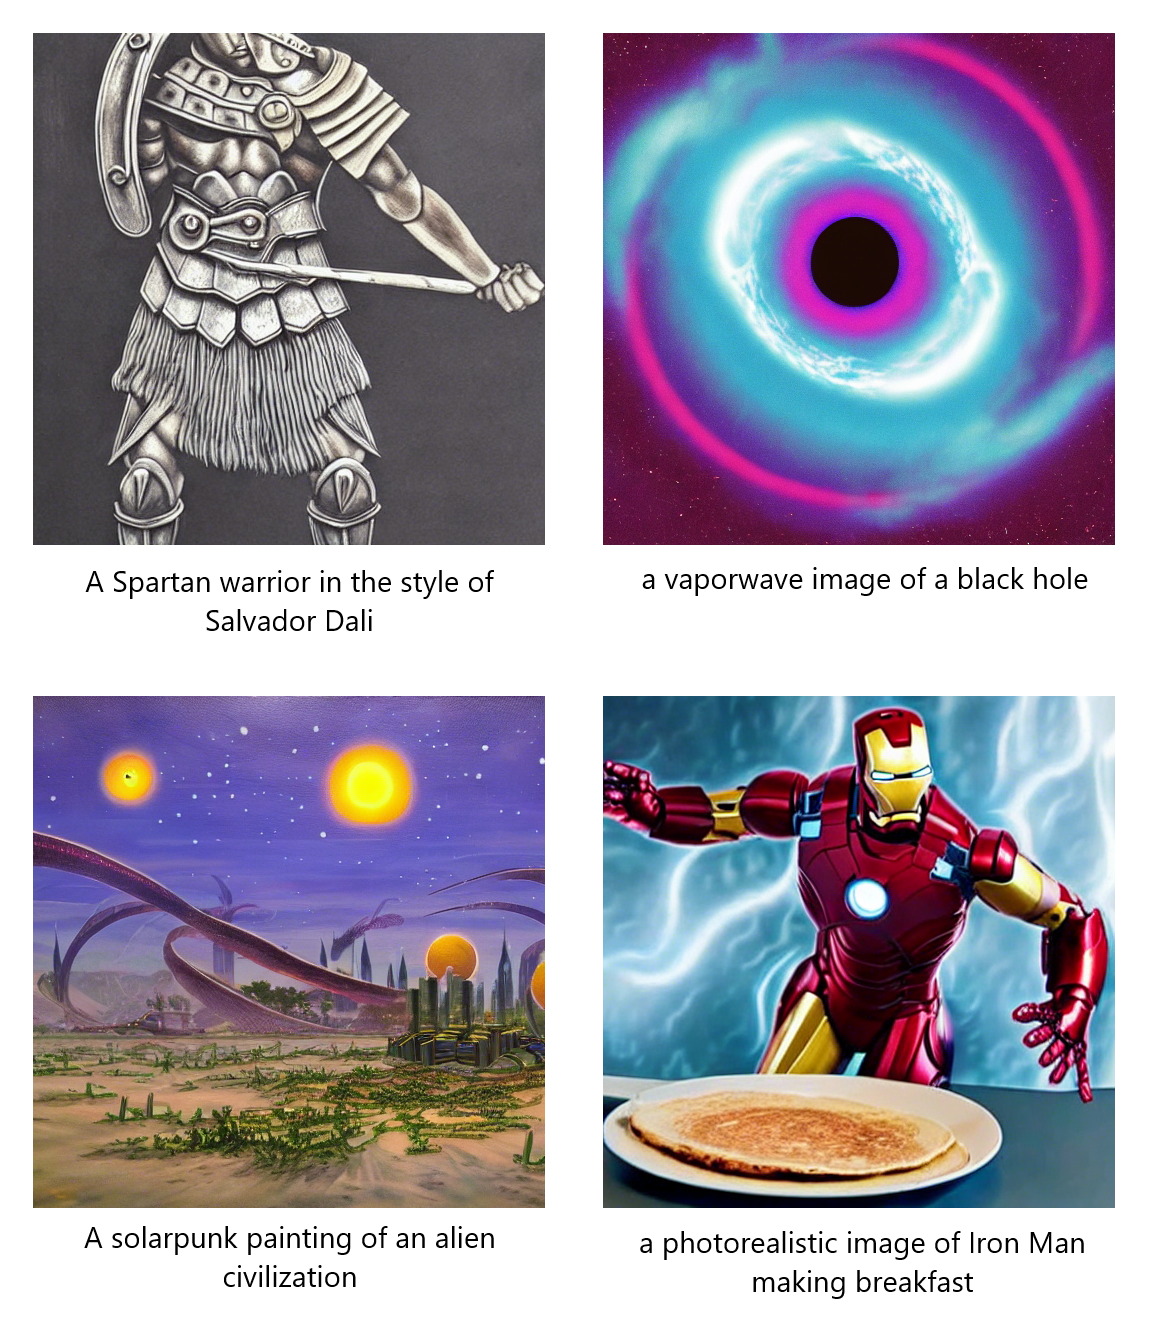
Following in the footsteps of DALL-E 2 and Imagen, the new Deep Learning model Stable Diffusion signifies a quantum leap forward in the text-to-image domain. Released earlier this month, Stable Diffusion promises to democratize text-conditional image generation by being efficient enough to run on consumer-grade GPUs. Just this Monday, Stable Diffusion checkpoints were released for the first time, meaning that, right now, you can generate images like the ones below with just a few words and a few minutes time.
This article will show you how to install and run Stable Diffusion, both on GPU and CPU, so you can get started generating your own images. Let's dive in!
Use Stable Diffusion in Colab
Before we look at how to install and run Stable Diffusion locally, you can check out the below Colab notebook in order to see how to use Stable Diffusion non-locally. Note that you will need Colab Pro in order to generate new images given that the free version of Colab has slightly too little VRAM for sampling.
Stable Diffusion in Colab (GPU)
You can also run Stable Diffusion on CPU in Colab if you do not have Colab Pro, but note that image generation will take a relatively long time (8-12 minutes):
Stable Diffusion in Colab (CPU)
You can also check out our Stable Diffusion Tutorial on YouTube for a walkthrough of using the GPU notebook.
How to Install Stable Diffusion (GPU)
You will need a UNIX-based operating system to follow along with this tutorial, so if you have a Windows machine, consider using a virtual machine or WSL2.
Step 1: Install Python
First, check that Python is installed on your system by typing python --version into the terminal. If a Python version is returned, continue on to the next step. Otherwise, install Python with
sudo apt-get update
yes | sudo apt-get install python3.8
Step 2: Install Miniconda
Next, we need to ensure the package/environment manager conda is installed. Enter conda --version in the terminal. If a conda version is returned, move on to the next step.
Otherwise, go to the conda website and download and run the appropriate Miniconda installer for your version of Python and operating system. For Python3.8, you can download and run the installer with the following commands:
wget https://repo.anaconda.com/miniconda/Miniconda3-py38_4.12.0-Linux-x86_64.sh
bash Miniconda3-py38_4.12.0-Linux-x86_64.sh
Hold down Enter to get through license and then type "yes" to continue when prompted. Next, press Enter to confirm the installation location, and then type "yes" when asked if the installer should initialize Miniconda. Finally, close the terminal and then open a new one where you want to install Stable Diffusion.
Step 3: Clone the Stable Diffusion Repository
Now we need to clone the Stable Diffusion repository. In the terminal, execute the following commands:
git clone https://github.com/CompVis/stable-diffusion.git
cd stable-diffusion/
If you do not have git, you will need to install it with sudo apt install git. Make sure to read and accept the Stable Diffusion license before cloning the repository.
Step 4: Create Conda Environment
Next up we need to create the conda environment that houses all of the packages we'll need to run Stable Diffusion. Execute the below commands to create and activate this environment, named ldm
onda env create -f environment.yaml
conda activate ldm
Step 5: Download Stable Diffusion Weights
Now that we are working in the appropriate environment to use Stable Diffusion, we need to download the weights we'll need to run it. If you haven't already read and accepted the Stable Diffusion license, make sure to do so now. Several Stable Diffusion checkpoint versions have been released. Higher version numbers have been trained on more data and are, in general, better performing than lower version numbers. We will be using checkpoint v1.4. Download the weights with the following command:
curl https://f004.backblazeb2.com/file/aai-blog-files/sd-v1-4.ckpt > sd-v1-4.ckptThat's all of the setup we need to start using Stable Diffusion! Read on to learn how to generate images using the model.
How to Generate Images with Stable Diffusion (GPU)
To generate images with Stable Diffusion, open a terminal and navigate into the stable-diffusion directory. Make sure you are in the proper environment by executing the command conda activate ldm.
To generate an image, run the following command:
python scripts/txt2img.py --prompt "YOUR-PROMPT-HERE" --plms --ckpt sd-v1-4.ckpt --skip_grid --n_samples 1Where you replace YOUR-PROMPT-HERE with the caption for which to generate an image (leaving the quotation marks). Running this command with the prompt "a photorealistic vaporwave image of a lizard riding a snowboard through space" outputs the following image:
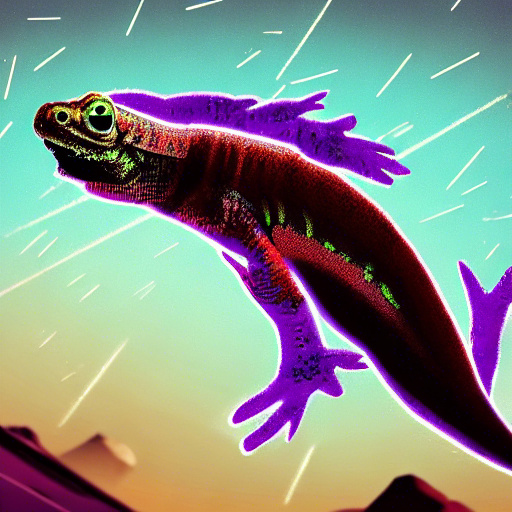
The above image was generated in about a minute using an Ubuntu 18.04 VM in GCP with a NVIDIA Tesla K80.
Script Options
You can customize this script with several command-line arguments to tailor the results to what you want. Let's take a look some that might come in handy:
--promptfollowed by a sentence in quotation marks will specify the prompt to generate the image for. The default is "a painting of a virus monster playing guitar".--from-filespecifies a filepath for a file of prompts to use to generate images for.--ckptfollowed by a path specifies which checkpoint of model to use. The default ismodels/ldm/stable-diffusion-v1/model.ckpt.--outdirfollowed by a path will specify the output directory to save the generate image to. The default isoutputs/txt2img-samples.--skip_gridwill skip creating an image that combines.--ddim_stepsfollowed by an integer specifies the number of sampling steps in the Diffusion process. Increasing this number will increase computation time but may improve results. The default value is 50.--n_samplesfollowed by an integer specifies how many samples to produce for each given prompt (the batch size). The default value is 3.--n_iterfollowed by an integer specifies how many times to run the sampling loop. Effectively the same as--n_samples, but use this instead if running into OOM error. See the source code for clarification. The default value is 2.--Hfollowed by an integer specifies the height of the generated images (in pixels). The default value is 512.--Wfollowed by an integer specifies the width of generated images (in pixels). The default value is 512.--scalefollowed by a float specifies the guidance scale to use. The default value is 7.5--seedfollowed by an integer allows for setting the random seed (for reproducible results). The default value is 42.
You can see a full list of possible arguments with default values in the txt2img.py file. Let's see a more complicated generation prompt using these optional arguments now.
In the stable-diffusion directory, create a file called prompts.txt. Create several prompts, one on each line of the file. For example:

Now, in stable-diffusion directory in the terminal, run
python scripts/txt2img.py \
--from-file prompts.txt \
--ckpt sd-v1-4.ckpt \
--outdir generated-images \
--skip_grid \
--ddim_steps 100 \
--n_iter 3 \
--H 256 \
--W 512 \
--n_samples 3 \
--scale 8.0 \
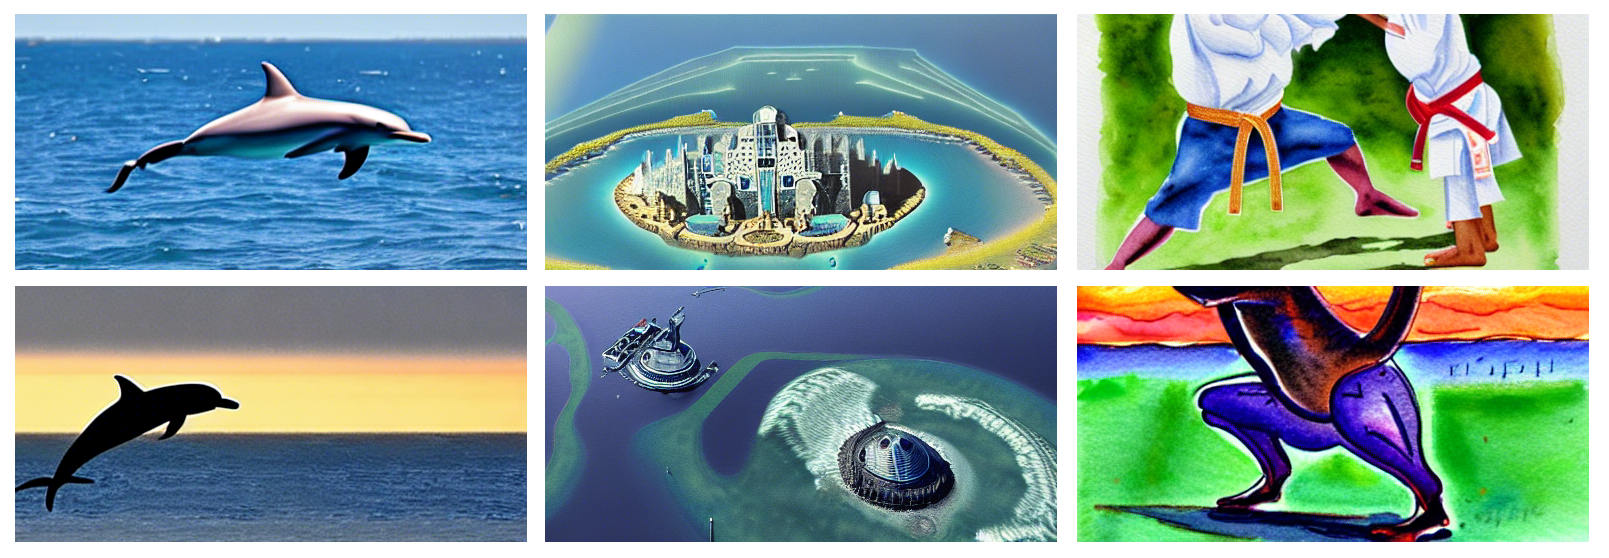
--seed 119Two resulting images for each caption can be seen below. The above command is intended to serve as an example of using more command-line arguments, and not as an example of optimal arguments. In general, larger images are empirically found to be both higher quality and have greater image/caption similarity, and a lower guidance scale would likely yield better results. Continue on to the next section for more information about improving Stable Diffusion results.
How to Install Stable Diffusion (CPU)
Step 1: Install Python
First, check that Python is installed on your system by typing python --version into the terminal. If a Python version is returned, continue on to the next step. Otherwise, install Python with
sudo apt-get update
yes | sudo apt-get install python3.8
Step 2: Download the Repository
Now we need to clone the Stable Diffusion repository. We will be using a fork that can accommodate CPU inference. In the terminal, execute the following commands:
git clone https://github.com/bes-dev/stable_diffusion.openvino.git
cd stable_diffusion.openvino
If you do not have git, you will need to install it with sudo apt install git. Make sure to read and accept the Stable Diffusion license before cloning the repository.
Step 3: Install Requirements
Install all necessary requirements with
pip install -r requirements.txtNote that Scipy version 1.9.0 is a listed requirement, but it is incompatible with older versions of Python. You may need to change the Scipy version by editing requirements.txt to read e.g. scipy==1.7.3 before running the above command.
2024 update: Additionally, you may need to update the requirements file to specify numpy>=1.19.5 (i.e. set a minimal rather than particular version) - thanks to Dan Girton for reporting this.
Step 4: Download Stable Diffusion Weights
Now that we are working in the appropriate environment to use Stable Diffusion, we need to download the weights we'll need to run it. If you haven't already read and accepted the Stable Diffusion license, make sure to do so now. Several Stable Diffusion checkpoint versions have been released. Higher version numbers have been trained on more data and are, in general, better performing than lower version numbers. We will be using checkpoint v1.4. Download the weights with the following command:
curl https://f004.backblazeb2.com/file/aai-blog-files/sd-v1-4.ckpt > sd-v1-4.ckptThat's all of the setup we need to start using Stable Diffusion! Read on to learn how to generate images using the model.
How to Generate Images with Stable Diffusion (CPU)
Now that everything is installed, we are prepared to generate images with Stable Diffusion. To generate an image, simply run the below command, changing the prompt to whatever you want.
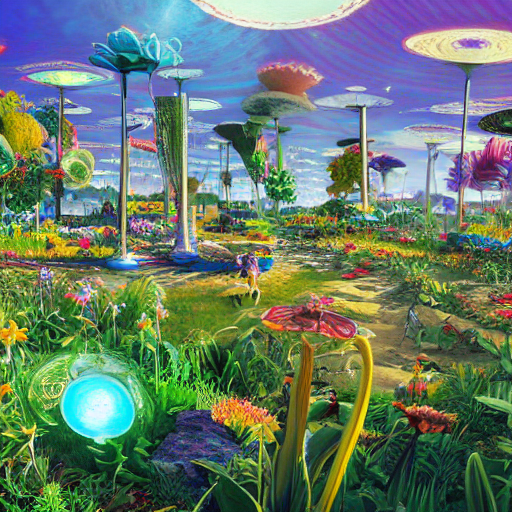
python demo.py --prompt "bright beautiful solarpunk landscape, photorealism"The inference time will be high at around 8-12 minutes, so feel free to grab a cup of coffee while Stable Diffusion runs. Below we can see the output from running the above command:
Tips and Tricks
While you're getting started using Stable Diffusion, keep these tips and tricks in mind as you explore.
Prompt Engineering
The results from a text-to-image model can be sensitive to the phrasing that is used to describe the desired scene. Prompt Engineering is the practice of tailoring the prompt to acquire desired results. For example, if low-quality images are being generated, try prepending the caption with "an image of". You can also specify different styles and mediums in order to achieve different effects. Check out each of the below the below drop-downs for ideas
Tuning Sample Parameters
When tuning sampling parameters, you can utilize the below empirical observations to guide your exploration.
Image Size
In general, it appears empirically that larger images are much better in both image quality and caption alignment than smaller images. See the below examples for the prompt "Guy Fieri giving a tour of a haunted house" for both 256x256 and 512x512 sized images:

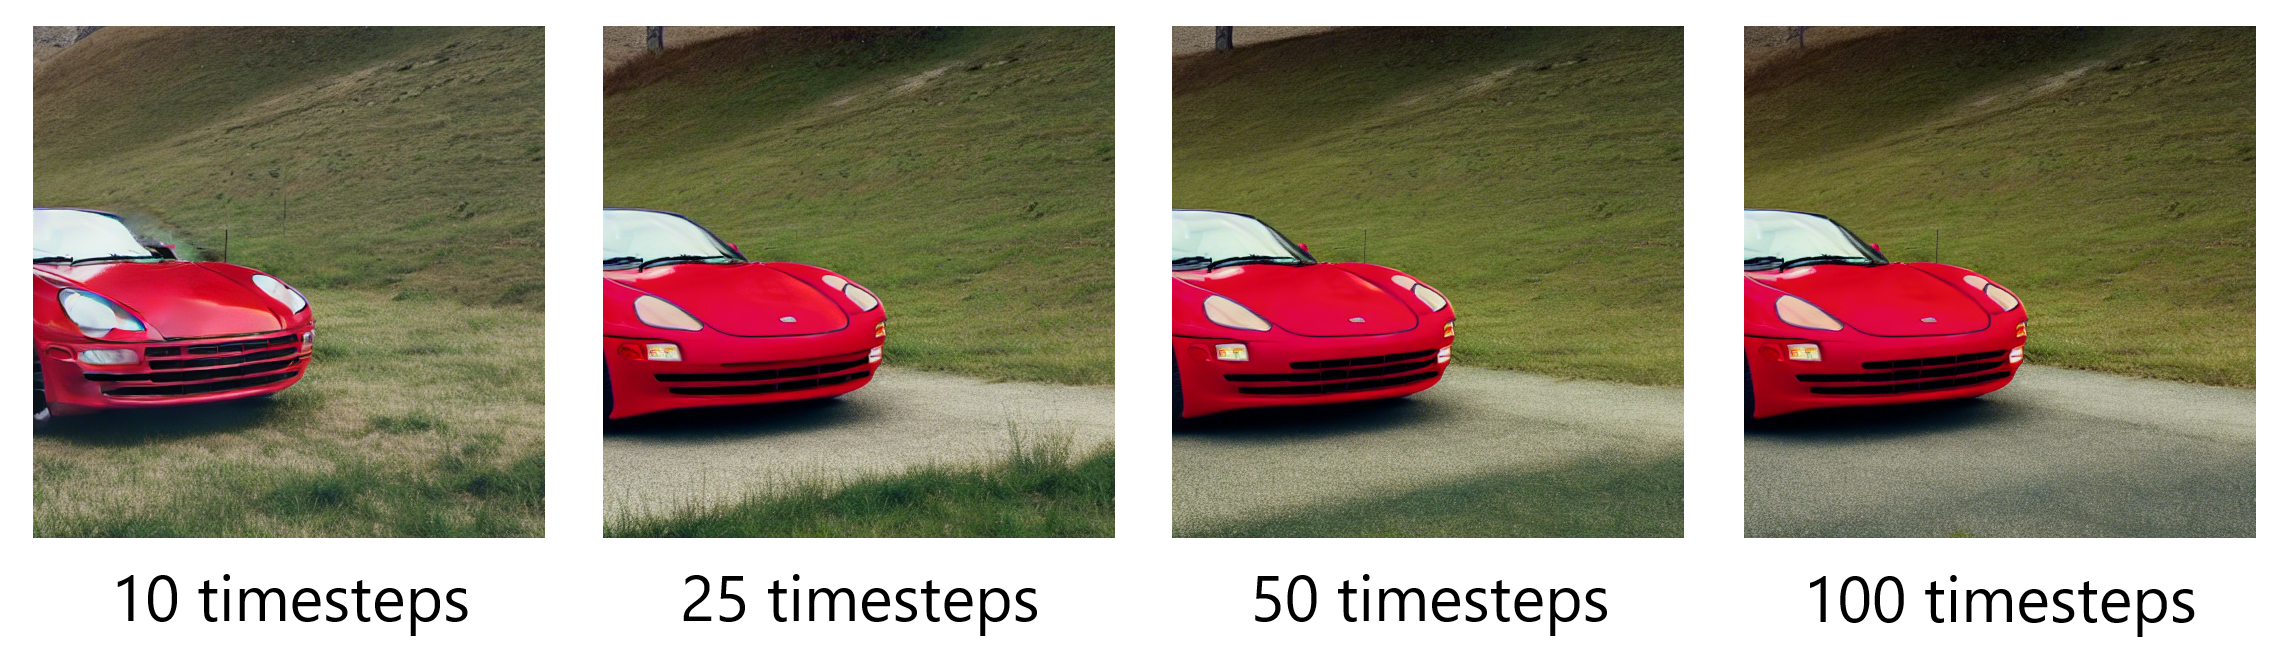
Number of Diffusion Steps
It appears that the number of steps in the diffusion process does not affect results much beyond a certain threshold of about 50 timesteps. The below images were generated using the same random seed and prompt "A red sports car". It can be seen that a greater number of timesteps consistently improves the quality of the generated images, but past 50 timesteps improvements are only manifested in a slight change to the incidental environment of the object of interest. The details of the car are in fact almost fully consistent from 25 timesteps onward, and it is the environment that is improving to become more appropriate for the car in greater timesteps.

Image Aspect Ratio
It appears that image quality and caption similarity as a function of aspect ratio depend on the input caption. The below images have the same area but different aspect ratios, all generated using the caption "A steel and glass modern building". The results are relatively uniform, although the vertical image appears to be the best, followed by square and then horizontal. This should be unsurprising given that modern buildings of this type are tall and skinny. Performance as a function of aspect ratio therefore seems to be subject-dependent.

Unfortunately, Stable Diffusion is limited to factorizable aspect ratios, making more finely grained experiments impossible, but square images should suffice for most purposes anyway.
Checkpoint Symbolic Link
To avoid having to supply the checkpoint with --ckpt sd-v1-4.ckpt each time you generate an image, you can create a symbolic link between the checkpoint and the default value of --ckpt. In the terminal, navigate to the stable-diffusion directory and execute the following commands:
mkdir -p models/ldm/stable-diffusion-v1/
ln -s sd-v1-4.ckpt models/ldm/stable-diffusion-v1/model.ckpt
Alternatively, you can simply move the checkpoint into the default --ckpt location:
mv sd-v1-4.ckpt models/ldm/stable-diffusion-v1/model.ckptDid I Really Get Rick Rolled?
Yes. If Stable Diffusion detects that a generated image may violate its safety filter, the generated image will be replaced with a still of Rick Astley.

Final Words
That's all it takes to generate images using the new Stable Diffusion model - don't forget to share your fun creations with us on Twitter! If you want to learn more about how Stable Diffusion works, you can check out our Introduction to Diffusion Models for Machine Learning article. If you enjoyed this article, feel free to check out more of our blog or YouTube channel for Machine Learning content, or feel free to follow our newsletter to stay in the loop for new releases.
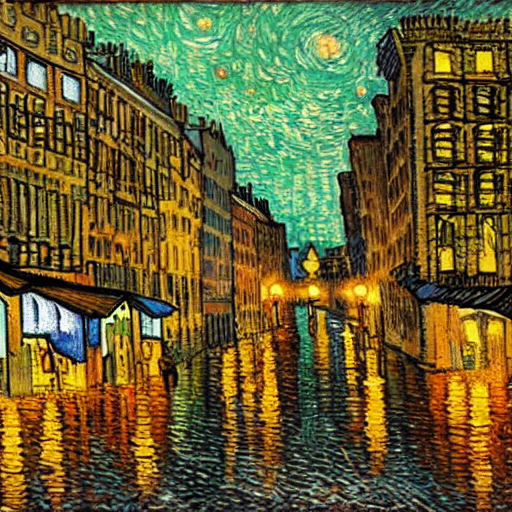
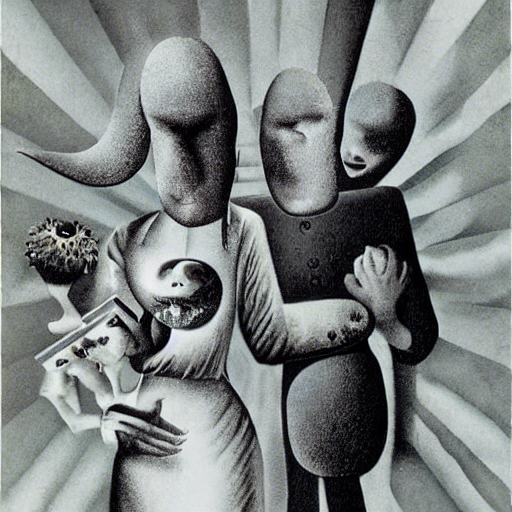
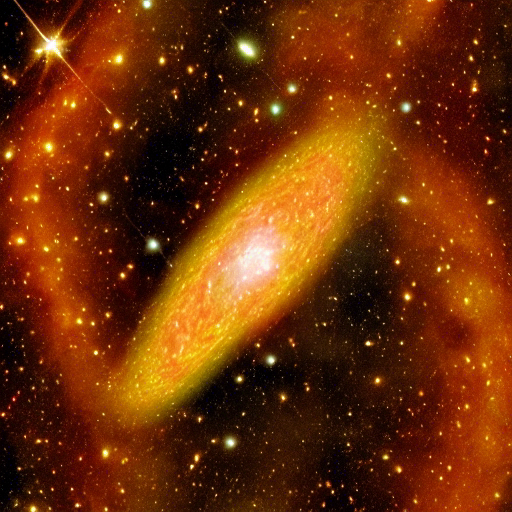
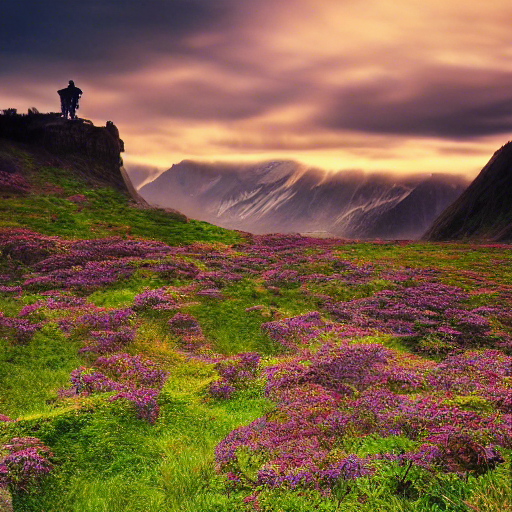
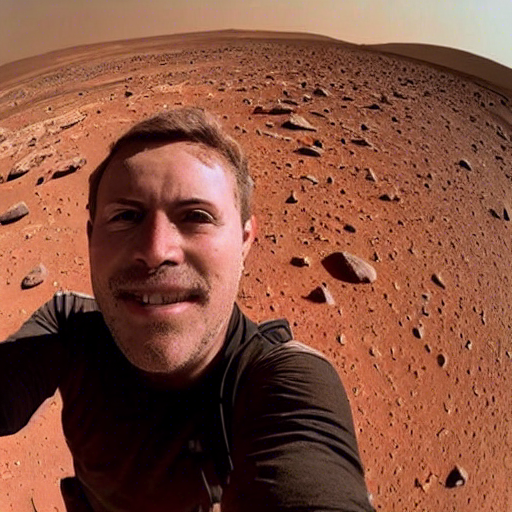
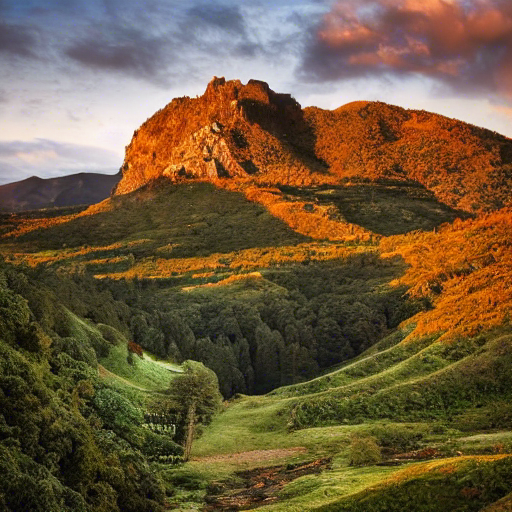
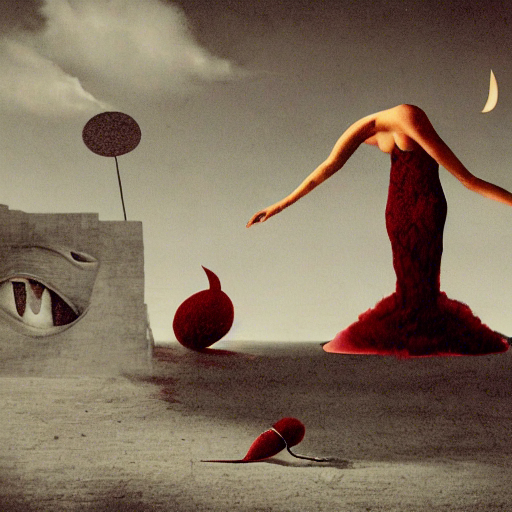
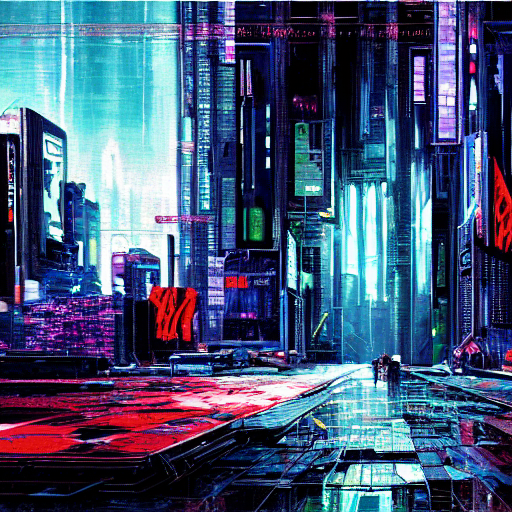
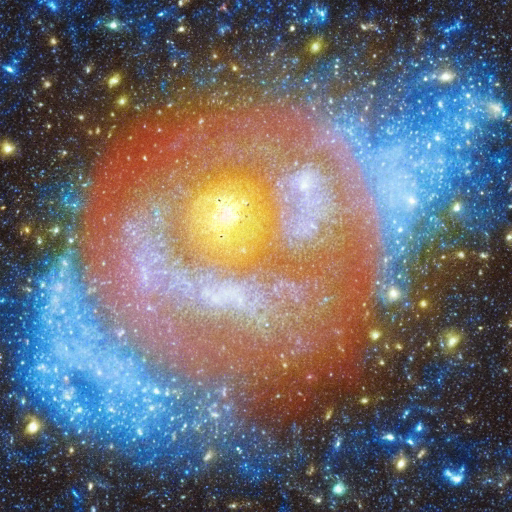
Some images we generated using Stable Diffusion:


Lorem ipsum dolor sit amet, consectetur adipiscing elit, sed do eiusmod tempor incididunt ut labore et dolore magna aliqua. Ut enim ad minim veniam, quis nostrud exercitation ullamco laboris nisi ut aliquip ex ea commodo consequat. Duis aute irure dolor in reprehenderit in voluptate velit esse cillum dolore eu fugiat nulla pariatur.
Related posts


