Python Speech Recognition in 2026
Learn about the different open-source libraries and cloud-based solutions you can use for speech recognition in Python.


Python gives you two broad paths for adding speech-to-text to your application: open-source libraries that run locally and cloud-based APIs that handle the heavy lifting for you. Open-source options like OpenAI Whisper, faster-whisper, and Vosk offer flexibility and offline capability. Cloud services like AssemblyAI trade that control for higher accuracy, simpler integration, and advanced features like speaker diarization and real-time streaming. With the global voice and speech recognition market projected to reach USD 53.67 billion by 2030, these tools are becoming core infrastructure for modern applications.
This guide compares the most popular Python speech recognition solutions—covering accuracy, cost, ease of implementation, and offline support—so you can pick the right one for your project.
What is speech recognition?
Speech recognition is the process of converting spoken language into text using algorithms that analyze audio signals, identify patterns, and match them to words and phrases. Modern systems use AI models trained on thousands of hours of audio to achieve high accuracy across accents, languages, and noisy environments.
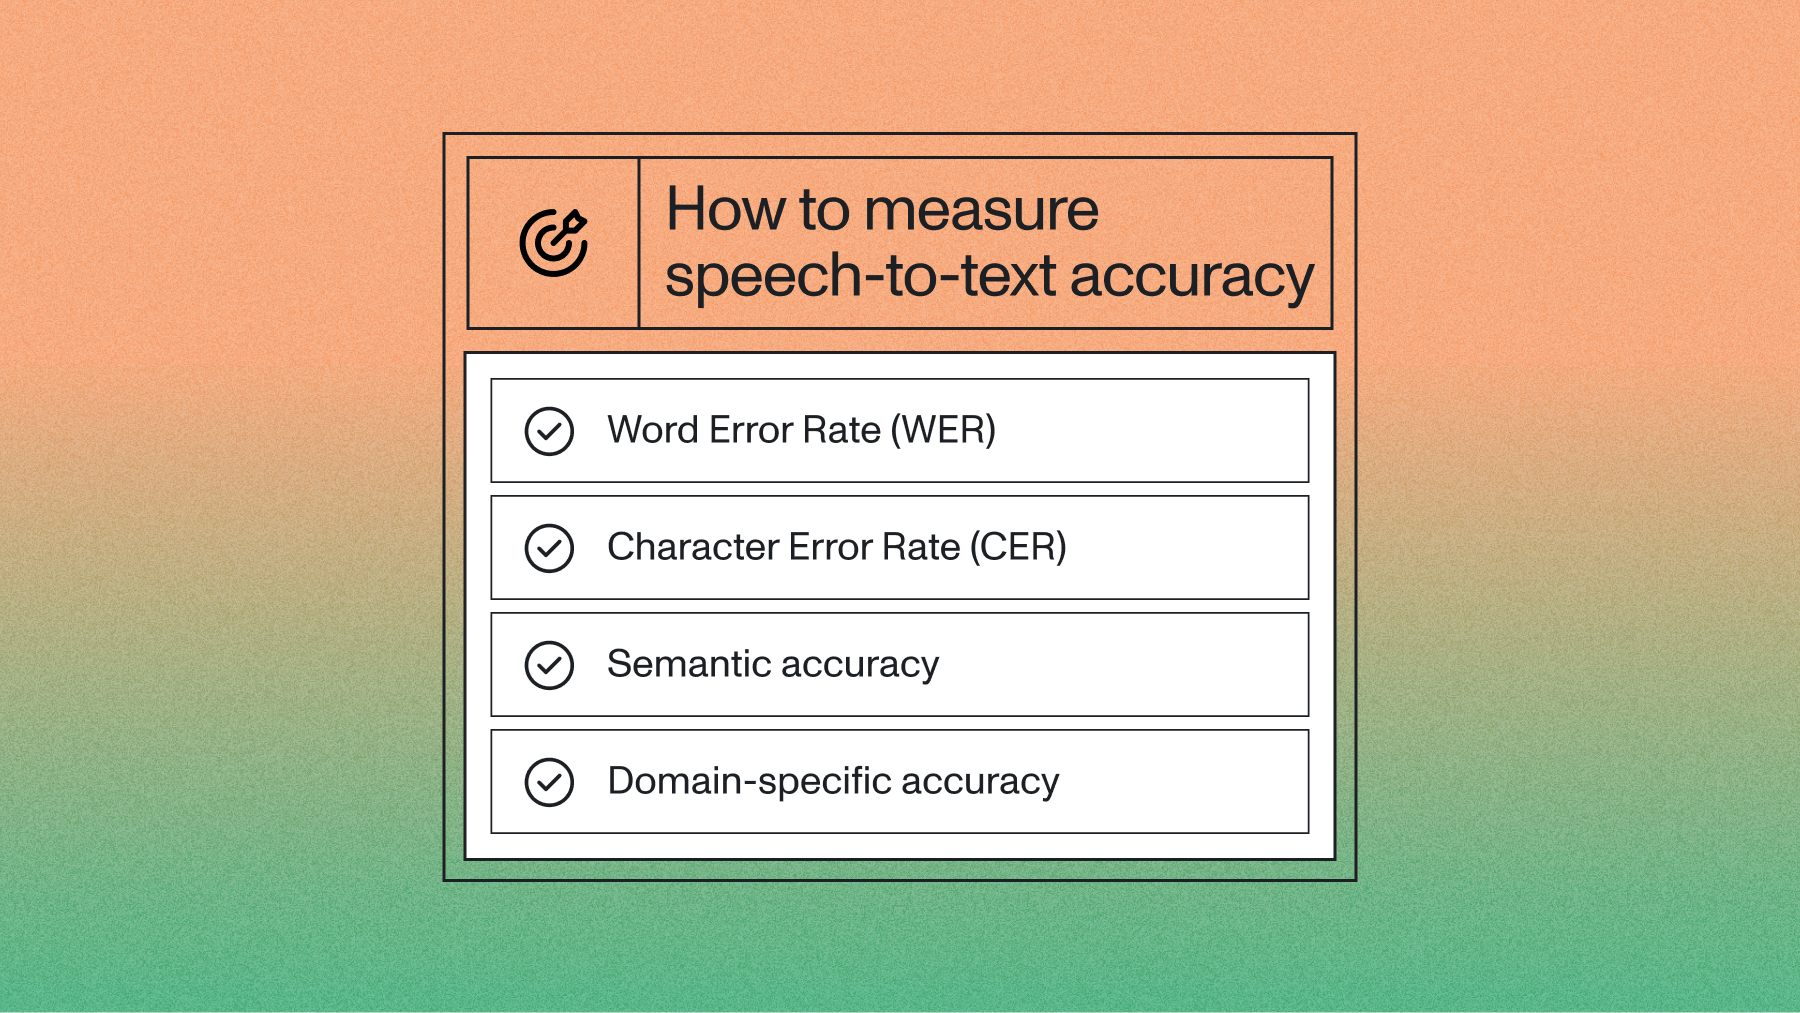
The core metric for measuring speech recognition accuracy is word error rate (WER)—the percentage of words incorrectly transcribed compared to a reference. Lower WER means better accuracy. Production-grade systems typically achieve WER below 10% on clean audio, though real-world performance varies with audio quality, domain vocabulary, and speaker characteristics. In production environments with background noise and diverse accents, WER can run 2–3x higher than clean benchmark numbers.
Modern speech recognition systems power virtual assistants, transcription tools, conversational intelligence apps, customer service automation, and voice-controlled devices. The technology has progressed rapidly—what once required specialized hardware now runs on consumer GPUs or through cloud APIs with just a few lines of Python code.
Open-source vs. cloud-based Python speech recognition solutions
Before diving into specific libraries, it helps to understand the fundamental trade-off. Open-source solutions give you full control and transparency. Cloud-based solutions give you accuracy and simplicity. Here's how they compare:
The right choice depends on your constraints. Need full control and offline capability? Go open-source. Want the fastest path to production with the highest accuracy? A cloud API will likely get you there.
Open-source Python speech recognition options
The open-source landscape has expanded significantly. Beyond the well-known Whisper model, projects like faster-whisper and Vosk offer compelling alternatives for different use cases. Here are the options worth evaluating.
OpenAI Whisper
Whisper, developed by OpenAI, is the most popular open-source speech recognition model. It handles transcription, translation, and multilingual audio across 99 languages. The model family ranges from the lightweight tiny model (39M parameters) to the full large-v3 model (1.5B parameters), plus the newer turbo variant that balances accuracy and speed.
Whisper's strength is versatility. It handles noisy audio, multiple speakers, and non-English languages reasonably well out of the box. Installation is straightforward via pip, and the API is simple.
The trade-offs are real, though. Whisper processes audio slower than real-time on CPUs—you'll need a GPU for any serious workload. It also has a well-documented tendency to hallucinate—Cornell researchers found that roughly 1% of Whisper transcriptions contained entirely fabricated phrases, especially on silent or low-quality audio segments. AssemblyAI's Universal models address this directly through their Transducer-based architecture and extensive data filtering pipelines, showing a 30% reduction in hallucination rates compared to Whisper large-v3. And when compared to cloud models like Universal-2, Whisper shows notable weaknesses in proper noun detection and real-world edge cases.
Whisper is a strong choice for developers who need offline transcription, multilingual support, and are comfortable managing GPU resources. For production use cases where accuracy and reliability are critical, consider pairing it with a cloud API as a fallback.
Below is a short code example that shows how to use Whisper. If you want to learn more, you can read this blog post on how to run OpenAI's Whisper model.
Faster-whisper and Distil-Whisper
Two major open-source projects have extended Whisper's capabilities in important ways.
Faster-whisper reimplements Whisper using CTranslate2, an inference engine optimized for Transformer models. The result is up to 4x faster transcription with comparable accuracy, while using less memory. It supports the same model sizes as Whisper and works on both CPU and GPU. For developers who want Whisper's accuracy without the slow processing speed, faster-whisper is often the better choice.
Distil-Whisper, developed by Hugging Face, is a distilled (compressed) version of Whisper that's 6x faster while retaining about 99% of Whisper's accuracy on out-of-distribution test sets. It's particularly effective for English transcription and is a strong option when you need speed but can't sacrifice much accuracy.
Both projects install via pip and follow Whisper's general API patterns, making the switch from vanilla Whisper straightforward.
Vosk
Vosk takes a different approach from Whisper. Rather than one large model, Vosk provides lightweight, language-specific models designed for offline speech recognition on edge devices and embedded systems. Models range from 50MB to 1.8GB—small enough to run on a Raspberry Pi or mobile device.
Vosk supports over 20 languages and offers real-time recognition out of the box, including live microphone input. It handles speaker identification and works with Python, Java, C#, Node.js, and several other languages through a consistent API.
The trade-off is accuracy. Vosk's models don't match Whisper or cloud APIs on benchmark tests, especially for complex audio with overlapping speakers or heavy background noise. But for offline, resource-constrained environments where latency matters more than perfect accuracy, Vosk is hard to beat.
SpeechRecognition
The SpeechRecognition library isn't a speech recognition engine itself—it's a Python wrapper that provides a unified interface to multiple engines. It supports Google Cloud Speech-to-Text, CMU Sphinx, Wit.ai, Azure, Houndify, IBM Watson, Vosk, and Whisper.
This makes it useful for quickly testing different backends without rewriting your code. Swap out one recognizer for another with a single line change.
The limitation is that SpeechRecognition adds a layer of abstraction without adding capability. You're still dependent on the underlying engine's accuracy and features, and the library doesn't expose many advanced options those engines offer. For production use, you'll generally want to integrate directly with your chosen engine's native SDK.
Here is a code example that shows how to transcribe an audio file with the SpeechRecognition library:
wav2letter and DeepSpeech (legacy projects)
Two older open-source projects still appear in search results but are no longer actively maintained.
wav2letter (now part of Flashlight) was developed by Facebook AI Research and used a CNN-based architecture. It requires manual C++ compilation and has minimal community activity. It's largely of historical interest at this point.
DeepSpeech, based on Baidu's research, was Mozilla's speech recognition engine. It offered offline capability and ran on devices from Raspberry Pis to GPUs. Mozilla archived the project, and it hasn't seen updates in years. While the pre-trained models still work, the ecosystem has moved on to Whisper-based solutions.
If you're starting a new project, Whisper, faster-whisper, or Vosk are better choices than either of these libraries.
Cloud Python speech recognition
AssemblyAI offers a cloud-hosted speech recognition API with advanced features beyond basic transcription. Companies like Speak AI and AudioStack use AssemblyAI's API to power their speech-to-text capabilities. In this section, we'll walk through transcription, speaker diarization, multilingual recognition, and paragraph extraction.
To follow along, you'll need a free API key from AssemblyAI.
Using AssemblyAI's speech-to-text API
The AssemblyAI speech-to-text API currently serves Universal-3 Pro as its default model—the latest in AssemblyAI's Universal model family. Universal-3 Pro achieves a 94.07% word accuracy rate (5.6% mean WER across 26 real-world datasets)—the highest in the industry. In head-to-head benchmarks, it outperforms ElevenLabs Scribe V2 (93.48%), OpenAI (93.13%), Microsoft (92.40%), Amazon (92.40%), and Deepgram Nova-3 (92.10%). Universal-3 Pro builds on the benchmarks set by Universal-2 with improved handling of diverse accents, background noise, and domain-specific vocabulary.
The API provides strong data privacy and security measures. The simplest way to integrate it is with the AssemblyAI Python SDK.
To transcribe audio, install the SDK with pip install assemblyai. Then import the module, set your API key, create a Transcriber instance, and pass either a local file or a public URL. The transcribe method returns a transcript object—print the text with print(transcript.text).
That's it. Three lines of code from install to transcription.
Speaker diarization with AssemblyAI
Speaker diarization identifies who spoke when in multi-speaker audio. Enable it by setting speaker_labels to True in the TranscriptionConfig.
The transcript returns a list of utterances, each attributed to a specific speaker. This is essential for meeting transcription, podcast processing, and call center analytics. Here is an example of a transcribed podcast episode:
Multilingual speech recognition with AssemblyAI
AssemblyAI supports speech recognition for 99 languages. You can either let the API automatically detect the language or set the language code manually.
With automatic detection, set language_detection to True in the config. If you already know the language, use the language_code parameter instead.
Getting paragraphs and sentences
AssemblyAI transcripts can be segmented into paragraphs or sentences automatically, with metadata like timestamps and speaker labels. Call get_sentences() or get_paragraphs() on the transcript object:
Real-time speech recognition in Python
AssemblyAI's speech-to-text API offers real-time streaming transcription through a secure WebSocket connection. Universal-3 Pro Streaming delivers sub-300ms latency with ~150ms P50 turnaround, making it suitable for live captioning, real-time meeting transcription, conversational analytics, and voice-controlled systems. Streaming is priced at $0.45/hr for Universal-3 Pro Streaming or $0.15/hr for Universal Streaming (English-only).
The streaming API supports features like speaker diarization, custom vocabulary, and end-of-utterance controls. This combination of low latency and feature depth is what makes it practical for production applications—not just demos.
Below is a minimal code example for transcribing streaming audio from a microphone in Python. For a detailed walkthrough, see the documentation. Note that streaming is not available in the free tier—you'll need to set up billing.
For developers building full voice agents—where a user speaks, an AI reasons, and responds with audio—AssemblyAI's Voice Agent API takes this a step further. It combines Universal-3 Pro Streaming, LLM reasoning, and voice generation into a single WebSocket connection at a flat $4.50/hr rate—roughly 4× less than OpenAI's Real-Time API at approximately $18/hr for comparable functionality. This eliminates the need to stitch together separate STT, LLM, and TTS providers.
How to choose the right Python speech recognition solution
With this many options, the decision comes down to four factors: what accuracy you need, whether you can use the cloud, how much engineering effort you can invest, and your budget. In a survey of 450+ Voice AI builders, 52.5% cited accuracy as their top challenge—and 55% said their users' top frustration was having to repeat themselves, a symptom of insufficient transcription accuracy. That makes model selection the most consequential decision in any speech recognition project.
Here's a decision framework:
- Need offline capability? Your options are Whisper, faster-whisper, Vosk, or Distil-Whisper. Vosk is best for edge devices; faster-whisper for GPU-equipped servers.
- Need the highest accuracy? Cloud APIs like AssemblyAI's Universal-3 Pro consistently outperform open-source models on real-world audio. Beyond overall WER, the gap is most dramatic on the tokens that matter most: Universal-3 Pro achieves a 34.3% missed entity rate on email/URL tokens, compared to 62–72% for competitors—and leads on names (13.1% vs. 15–19%), phone numbers (19.6% vs. 21–30%), and medical terms (12.0% vs. 13–18%). If accuracy is your top priority and you can use the cloud, start here.
- Need real-time transcription? AssemblyAI's streaming API or Vosk (for offline). Whisper processes audio slower than real-time on most hardware.
- Working with non-English audio? Whisper and AssemblyAI both support 99 languages. Vosk covers 20+. Faster-whisper supports the same languages as Whisper.
- On a tight budget with low volume? Whisper or faster-whisper running on your existing hardware. AssemblyAI's free tier works for prototyping.
Comparison table
Frequently asked questions
What is the most accurate Python speech-to-text library?
Cloud APIs like AssemblyAI's Universal-3 Pro deliver the highest accuracy for most real-world audio, achieving a 94.07% word accuracy rate across 26 diverse datasets—outperforming all other major providers. Among open-source options, Whisper large-v3 leads, though it requires significant GPU resources. Faster-whisper matches Whisper's accuracy while being substantially faster.
Can Python speech recognition work offline?
Yes. Whisper, faster-whisper, Distil-Whisper, and Vosk all run entirely offline. Vosk is the lightest option, with models small enough for embedded devices. Whisper-based models need a GPU for practical performance.
How do I transcribe audio in real time with Python?
AssemblyAI's streaming API transcribes live audio through a WebSocket connection with sub-300ms latency. Universal-3 Pro Streaming delivers ~150ms P50 turnaround at $0.45/hr. For offline real-time transcription, Vosk supports live microphone input natively.
What is the difference between open-source and cloud speech recognition?
Open-source solutions run on your hardware, giving you full control and offline capability at the cost of managing infrastructure and typically lower accuracy. Cloud APIs like AssemblyAI handle all infrastructure, deliver higher accuracy, and include advanced features like speaker diarization—but require an internet connection and incur per-minute costs.
Is Whisper better than cloud speech-to-text APIs?
Whisper is excellent for offline use and multilingual tasks, but cloud APIs like AssemblyAI's Universal-3 Pro outperform it on accuracy benchmarks, especially for proper nouns and noisy audio. Universal-3 Pro also shows a 30% reduction in hallucination rates compared to Whisper large-v3. Cloud APIs also offer features Whisper lacks—speaker diarization, real-time streaming, and built-in post-processing—without requiring GPU management.
Lorem ipsum dolor sit amet, consectetur adipiscing elit, sed do eiusmod tempor incididunt ut labore et dolore magna aliqua. Ut enim ad minim veniam, quis nostrud exercitation ullamco laboris nisi ut aliquip ex ea commodo consequat. Duis aute irure dolor in reprehenderit in voluptate velit esse cillum dolore eu fugiat nulla pariatur.
Related posts