Python speech recognition in 30 lines of code
In this simple tutorial, we learn how to implement Speech Recognition in Python with just 30 lines of code. Let's get started!


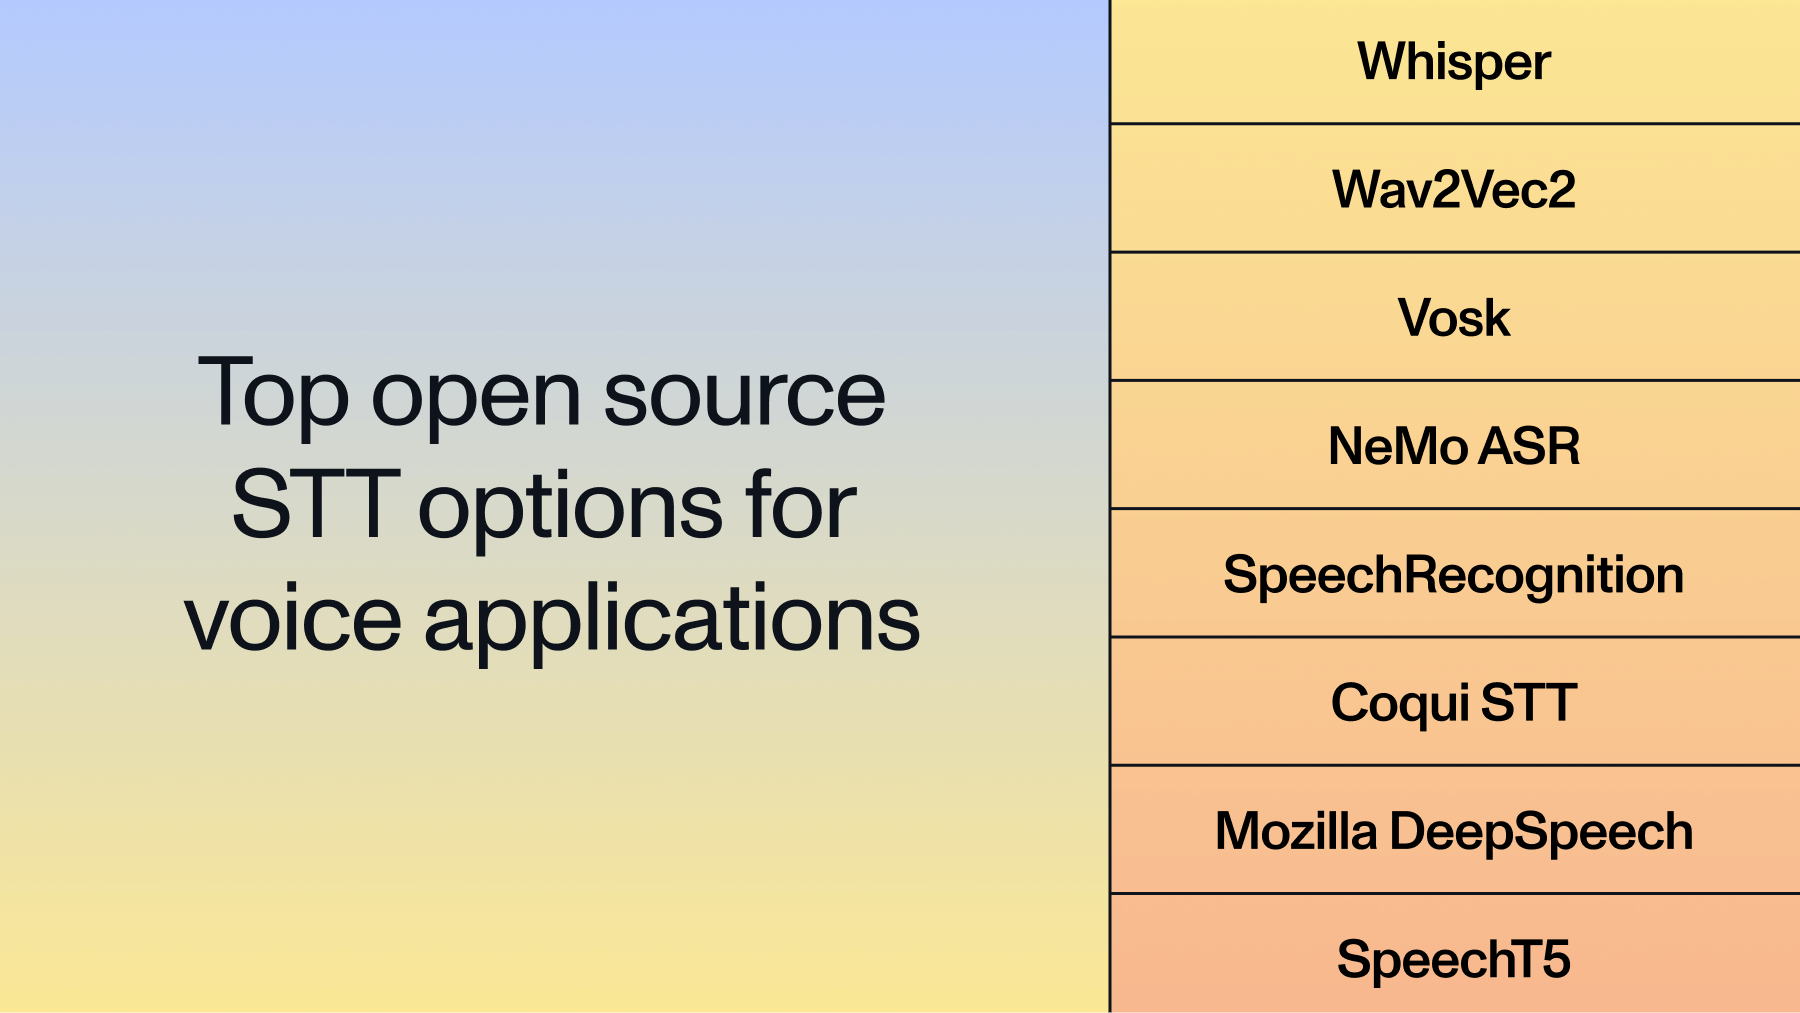
There are many ways to perform Speech Recognition in Python today. Open-source libraries and frameworks such as Kaldi, ESPNet, DeepSpeech, and Whisper provide ways for developers to implement speech-to-text functionality without having to build, train, and maintain complex machine learning models.
However, these open-source tools can require extensive setup and compute with varying levels of accuracy. Further, implementing richer functionality like Speaker Diarization requires the stitching together of various different tools. For these reasons, many developers instead choose to use Speech-to-Text APIs, which offer plug-and-play Speech-to-Text functionality. In this tutorial, we'll learn how to use the AssemblyAI API to transcribe audio files with only 30 lines of Python.
Prerequisites
Before we start coding, we'll need to get an AssemblyAI API key - you can get one for free here. Your API key is uniquely identified to your account and tells AssemblyAI's services that you are authorized to use them.
Security Note
Anyone who uses your API key will appear as you to AssemblyAI's services, so make sure not to share your API key. In particular, do not hard-code its value or accidentally upload it to e.g. GitHub.
Next, we'll need the requests library for this tutorial, so install it now with the below command if you don't have it already.
pip install requests
Python speech recognition code
Now we can take a look at how to perform Speech Recognition in just 25 lines of code using Python. You can download the project repository with the below command:
git clone https://github.com/AssemblyAI-Examples/python-speech-recognition.git
The main.py file contains all the code we'll need for this tutorial - let's take a look at it now. First, we import the two libraries we'll need - requests and time.
import requestsimport time
Next, we define two endpoints. The first is UPLOAD_ENDPOINT, which we will use to upload an audio file to AssemblyAI. The second is TRANSCRIPTION_ENDPOINT, which we will use to request a transcription from AssemblyAI.
UPLOAD_ENDPOINT = "https://api.assemblyai.com/v2/upload"
TRANSCRIPTION_ENDPOINT = "https://api.assemblyai.com/v2/transcript"
Now we can define two variables we'll need to use in our HTTP requests - a headers dictionary and your api_key, "unlocks" AssemblyAI's services. We hard-code the API key here since this is just an example, but make sure to use environment variables when you move from testing to real applications in order to prevent the accidental sharing of your API key.
e
api_key = "<YOUR-API-KEY-HERE>"
headers = {"authorization": api_key, "content-type": "application/json"}
Next, we define read_file, which returns a generator that we use to read an audio file. The value 5242880 is the chunk size that is used to chop up the data to be read in pieces.
def read_file(filename):
	with open(filename, 'rb') as _file:
    while True:           data = _file.read(5242880)           if not data:               break           yield data
Now we will upload our audio file to AssemblyAI using a POST request. Here we use a sample audio file audio.wav that comes with the project repository, but you can replace the 'audio.wav' string with the filepath of whatever file you want to transcribe. From the request's response, we extract the URL at which the uploaded audio can be accessed and save it to a variable called audio_url.
upload_response = requests.post(UPLOAD_ENDPOINT, headers=headers,
data=read_file('audio.wav'))
audio_url = upload_response.json()["upload_url"]
Now we're ready to request a transcription from AssemblyAI! We perform another POST request, placing the upload URL we just received into a dictionary, which is passed in as the JSON for the POST request. From the response, we save the transcript ID to a variable called _id.
transcript_request = {'audio_url': audio_url}
transcript_response = requests.post(TRANSCRIPTION_ENDPOINT, json=transcript_request, headers=headers)
_id = transcript_response.json()["id"]
Finally, we repeatedly probe the transcription's status with a polling endpoint, saving the transcript to a .txt file once it is complete.
while True:
    polling_response = requests.get(TRANSCRIPTION_ENDPOINT + "/" + _id, headers=headers)

    if polling_response.json()['status'] == 'completed':
       with open(f'{_id}.txt', 'w') as f:
           f.write(polling_response.json()['text'])
       print('Transcript saved to', _id, '.txt')
       break
    elif polling_response.json()['status'] == 'error':
        raise Exception("Transcription failed. Make sure a valid API key has been used.")
    else:
       print("Transcription queued or processing ...")
    time.sleep(5)
In more detail, we first request updated transcription information, saving the response in polling_response. Then, we check the 'status' in the response. If the status is 'completed', we save the transcript to a .txt file, and break out of our while loop to terminate the program.
If the 'status' is 'error', we raise an exception, letting the user know the transcription has failed. Otherwise, the transcription is either queued or processing, so we indicate as much in the terminal and then wait 5 seconds before repeating.
That's all for the code! To get your transcription, open up a terminal in the project directory and simply execute
python main.py
The result in the terminal will look something like this:

The saved transcript can be found in the same folder as main.py. We provide the example output transcript transcript.txt resulting from submitting the audio.wav file that comes with the repository.
Four score and seven years ago our fathers brought forth on this continent
a new nation conceived in liberty and dedicated to the
proposition that all men are created equal.
That's all it takes to perform Speech Recognition in Python in just 30 lines of code! If you enjoyed this tutorial, check out some of our other articles like How DALL-E 2 Actually Works or Introduction to Diffusion Models for Machine Learning. Alternatively, feel free to check out our YouTube channel or follow our newsletter to stay in the loop when new content drops.
Lorem ipsum dolor sit amet, consectetur adipiscing elit, sed do eiusmod tempor incididunt ut labore et dolore magna aliqua. Ut enim ad minim veniam, quis nostrud exercitation ullamco laboris nisi ut aliquip ex ea commodo consequat. Duis aute irure dolor in reprehenderit in voluptate velit esse cillum dolore eu fugiat nulla pariatur.
Related posts

.png)